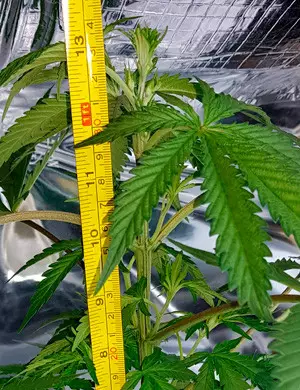
Barney’s Farm Gorilla Z NFT Grow Journal
Last updated: 4 December 2020
Hello, hello, hello to everyone reading my grow journal! This time, I’ll be covering my experience growing Gorilla Z from Barney’s Farm. I’ve harvested some Gorilla strains before, and I’m also a huge Barney’s Farm fan, as they never disappoint in showing the best possible quality and consistency every time I grow their seeds. As you’ll see, Gorilla Z was no exception to the rule!
I had 5 seeds of Gorilla Z which I grew using a Nutrient Film Technique – a type of a hydroponic setup where the roots are submerged into a thin layer of nutrient solution (I change the water every 7 days). I like this method because:
- Plants seem to grow bigger, faster, and stronger
- I can observe the roots and spot problems with the root system really quickly
- It’s one of the easiest hydroponic setups to have at home
As for the rest of the setup, for the vegetative stage, I used a single 250W FL light, while during flowering, I used a much more powerful 600W HID lamp.
Gorilla Z From Seed To Harvest: Vegetative Stage
The first 4 weeks of this Gorilla Z grow report covers the vegetative stage – pretty short considering it’s a full-size photoperiod strain.
Week 1
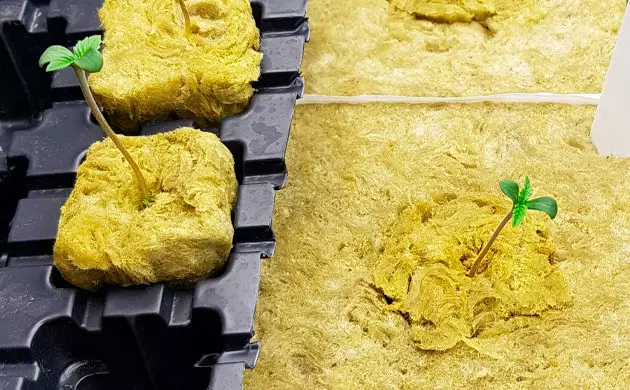
As it has always been with Barney’s Farm seeds, all 5 of my Gorilla Z nuts popped! I germinated them in pre-soaked rockwool and marked every seedling, as I always do, to navigate my garden more easily. I didn’t want my seedlings to be leggy, so I gave them 20 hours of light daily. By the end of the first week, they were all looking healthy at around 5cm (2in) tall.
Week 2
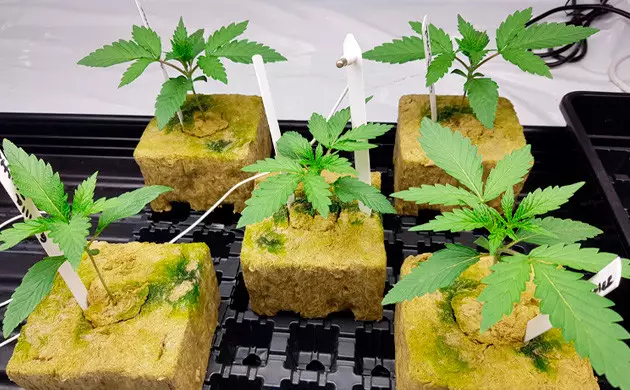
Week 2 and the babies kept growing steadily. With my plants, I always start air pruning their roots early, so I did the same with Gorilla Z seedlings. In the second week, I saw roots coming out of the rockwool and pruned them to help the plants develop a stronger root system. The temperature in the grow room stayed at around 25C (77F), which together with my 20/4 light schedule makes the rockwool dry out pretty quickly. By the end of week 2, I didn’t hurry to water the plants, as I wanted the roots to show even more for pruning. The seedlings had almost doubled in size, with all being around 7-10cm (3-4in) tall.
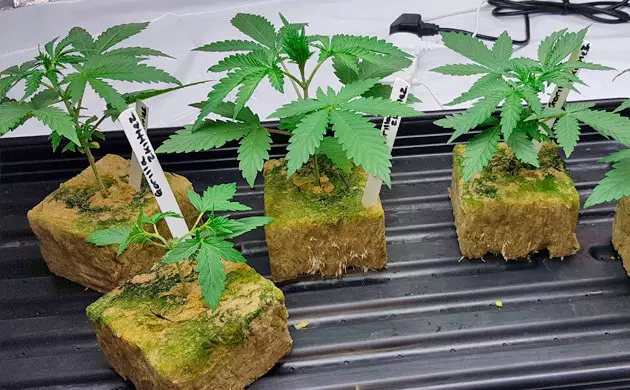
Week 3
Now, I started dipping the cubes in a weak Formulex solution every couple of days, as I thought they were ready for feeding.
The seedlings were now around 15cm (6in) tall and looking healthy. However, I spotted a weird-looking guy in the bunch that almost looked like two plants in one, so I pinched the top of it. By the end of week 3, there was abundant root growth thanks to the pruning – just look at that beautiful young root system! I also changed the light schedule to 18/6.
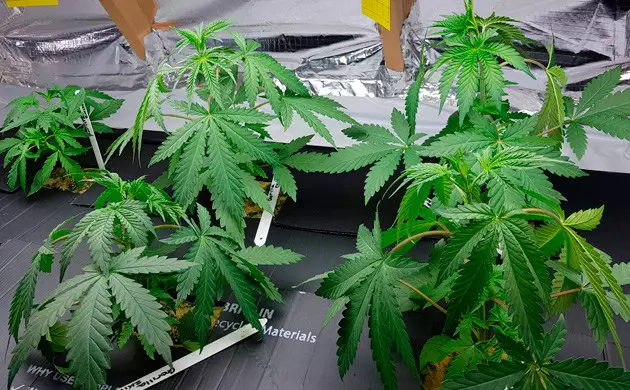
Week 4
By week 4, the tallest guy had now reached 25cm (10in) in height, which I was happy with.
This week, I let the humidity go up from 50% to 65%, but kept the temperature at 25C (77F). Another big event of the week is that I FIMmed 4 plants that I hadn’t pinched yet.
I also started my main feeding schedule with:
- Canna Aqua Vega 1.5ml/l
This was the last week in veg – the following week, I switched my light schedule from 18/6 to 12/12.
Gorilla Z From Seed To Harvest: Flowering Stage
The flowering stage took around 9 weeks after the switch to 12/12. Here’s how Gorilla Z performed during flowering.

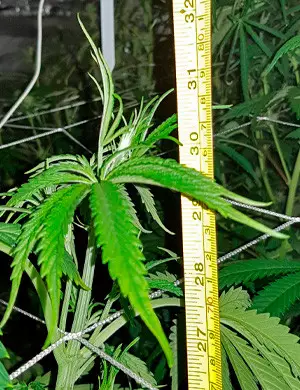
Weeks 5-6
I didn’t wait 7 days from fimming, as these plants were just growing too fast, so I had to do the switch 2 days afterward. However, the plants looked strong and the roots white and healthy, so I didn’t think there would be any problem with the earlier switch.
The thing that made keeping this Gorilla Z grow journal exciting was following the speedy growth of the plants in the flowering stage. In the first two weeks of flowering, Gorilla Z added 10-12cm to its height every 3 days, so after the second week of flowering, my plants doubled their veg size! By the end of week 6, the plants were 80cm (31in) tall – I had to place the lamp higher, which I luckily had enough space for.
The nutrient schedule during weeks 5 and 6 was as follows:
- Canna Aqua Flores A 1.5ml/l
- Canna Aqua Flores B 1.5ml/l
It’s still wasn’t a full-strength feed, but as soon as I saw signs of bud development, I planned to switch to nutrients for blooming.
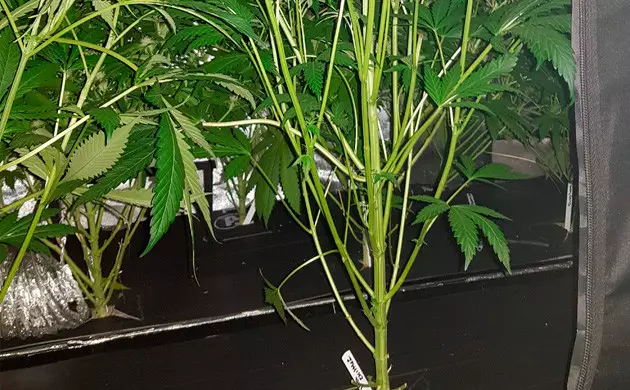
Week 7
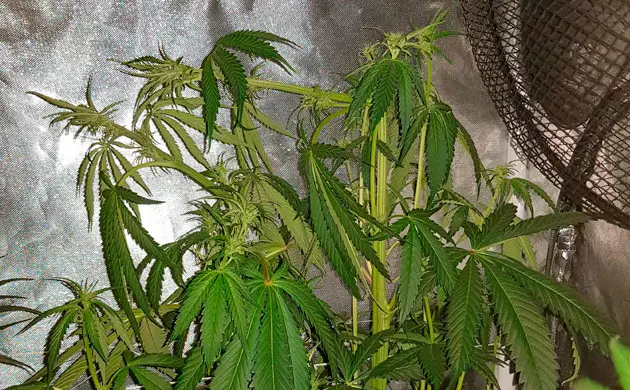
During week 7, I was still waiting for the flowers to appear. while growing Gorilla Z and keeping this grow journal, I noticed that these plants had a lot of internodal spaces. I honestly don’t know if that’s a trait of the strain itself or because my light was now so high.
Anyway, I also decided to give these plants more space, so I spread three out a 5ft tray and put the remaining two on a 4ft tray. That made maintenance much easier, and hopefully increased the light intake and aeration too.
The nutrient schedule during week 7 remained the same:
- Canna Aqua Flores A 1.5ml/l
- Canna Aqua Flores B 1.5ml/l
Week 8
These trees just wouldn’t stop growing! By week 8, they were already 144cm (5ft) tall! I was afraid it won’t stop, so I applied some HST techniques, pinching and bending the top parts.
I could now see the buds starting to form, so I added more nutrients to the solution:
- Canna Aqua Flores A 1.7ml/l
- Canna Aqua Flores B 1.7ml/l
- CANNAZYM 25ml/l
Week 9
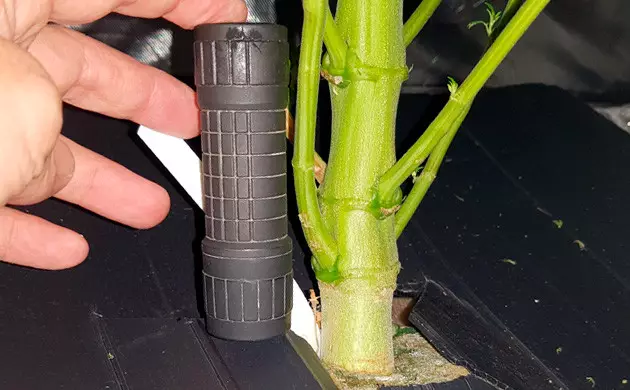
This was getting ridiculous, because this Gorilla Z had now outgrown a real gorilla, which I didn’t expect when starting my grow diary! The plants were now 151cm (4’11in) tall, and again, I was glad I still had enough space to fit these giants. The room looked a mess, however. A good thing though is that these plants weren’t smelly at all, which I personally like.
They seemed to be taking the feed really well, so I upped the dose:
- Canna Aqua Flores A 2.4ml/l
- Canna Aqua Flores B 2.4ml/l
- CANNAZYM 25ml/l
- Canna Boost Accelerator 2ml/l
Weeks 10-11
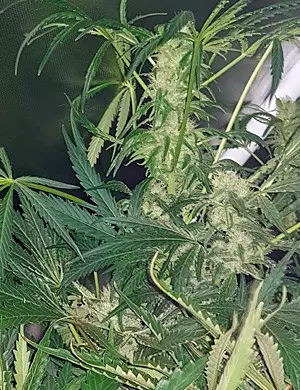
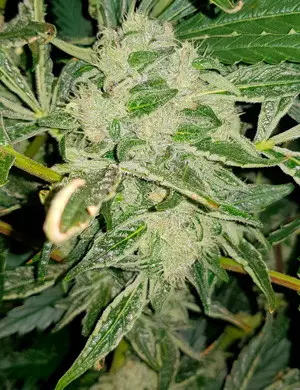
As you can see, it was impossible to take a good picture of these monsters! It was really crowded in the room now, and I hoped that wouldn’t give me humidity/molding problems. Next time I’m growing Gorilla Z, I’m definitely going to start to train them earlier.
These weeks, I used the following nutrients:
- Canna Aqua Flores A 3ml/l
- Canna Aqua Flores B 3ml/l
- CANNAZYM 25ml/l
- Canna Boost Accelerator 1.5ml/l
Also, now that the buds were much better developed, Gorilla Z smelled a damn lot! However, the smell was pleasant and kind of sweet.
Weeks 12-13
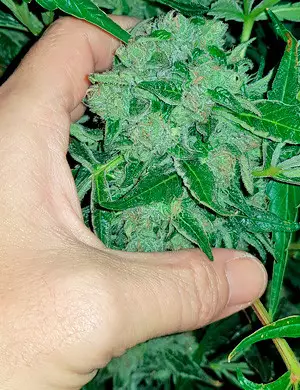
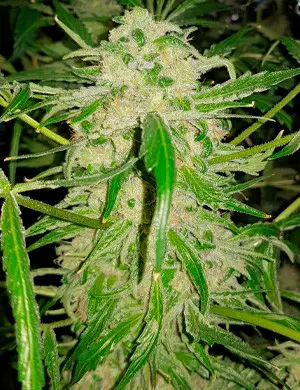
For the last couple of weeks of flowering, I started flushing with pH-ed water (pH 6). I was in love with these plants! The buds were beautiful, frosty, and rock-hard! The smell was also irresistible – I couldn’t wait to try some,
Gorilla Z Grow Journal: Post-Harvest Update
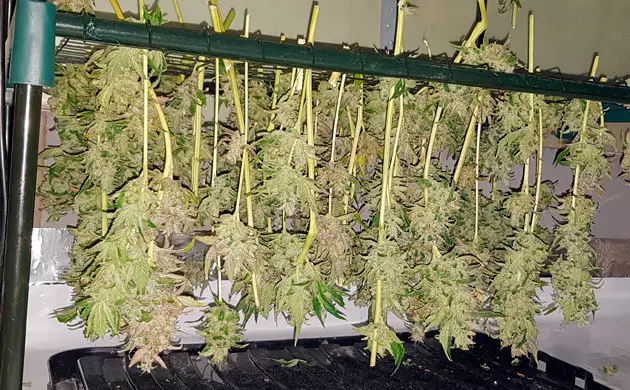
I harvested my 5 Gorilla Z plants in several steps, because while some of them were ready, others still needed some more time to mature. So first, I took down 2 plants, then a couple of days later 2 more, and finally the last one. Each of them yielded around 150g (5oz) of dry bud, which I was really happy about! The total weight was 700g (25oz). This means the total of 600W of light converted to 700g, which makes more than a gram per watt – an excellent result!
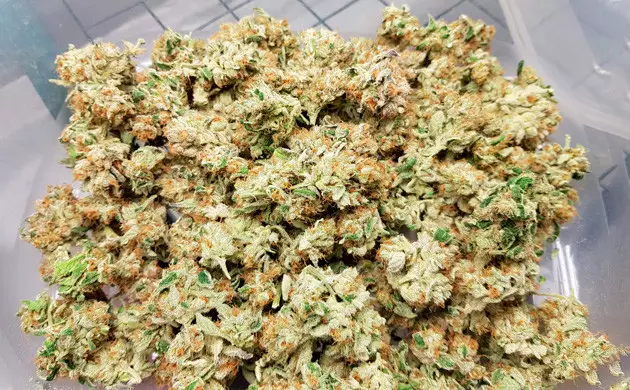
As for the smoking experience, I still needed to finish drying and curing to get a full impression. Drying Gorilla Z takes around 2 weeks – that’s how dense the buds are! I’ve tried smoking some from different plants before, and to my surprise, they’re all a little different in flavor and effect, which I like, as it makes my stash more diverse. They’re all definitely fruity and very pungent, with a happy, giggly high. I’ve lab-tested some buds, and the results show 24.3% THC.
All in all, this is a great strain! It was a huge pleasure growing Gorilla Z and documenting my experience in this grow report – I hope you enjoyed it as much as I did!
Herbies Head Shop expressly refuses to support the use, production, or supply of illegal substances. For more details read our Legal Disclaimer.




Thank you for leaving a comment for us!
Your feedback will be posted shortly after our moderator checks it.
Please note that we don’t publish reviews that: