






























Sour Diesel Auto Grow Diary and Strain Review
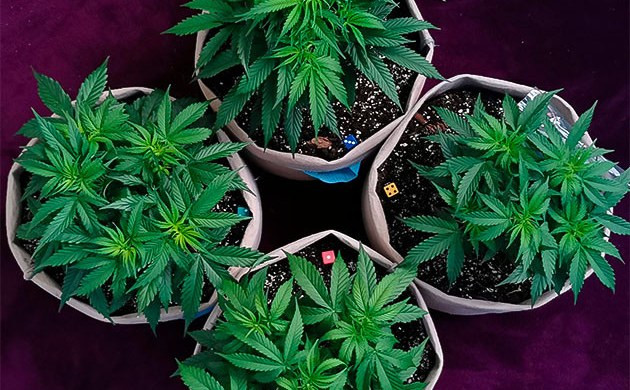
This was my second grow overall and my first run with autos. I chose 4 Sour Diesel Auto plants from Herbies Seeds mostly because the description sounded good on paper, and I wanted to see how the strain would behave in my own room.
The setup was a Mars Hydro 70x70x160cm (27.6x27.6x63in) tent with a 240W no-name LED. For airflow, I used 100m³/h ventilation and circulation fans, all tied into one controller. The plants started in universal soil with perlite, and I used pH Perfect nutrients from Advanced Nutrients.
Key Characteristics
- Seed Type: Feminized
- Flowering Type: Autoflowering
- Suitable for Growing: Outdoor, Indoor
- THC: 22 - 25%
- Height: 0.7-1.2m indoors (27.6-47.2 inches), 0.9-1.7m outdoors (35.4-66.9 inches)
- Genetics: Northern Lights x Diesel x Super Skunk x Ruderalis
- Effects: Cerebral

- Autoflowering
- 300 - 450 g/m² indoors
550 g/plant outdoors - Head rush for petrol heads
Starting the Run
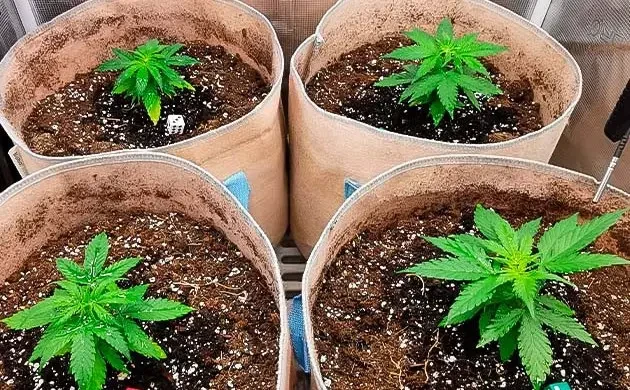
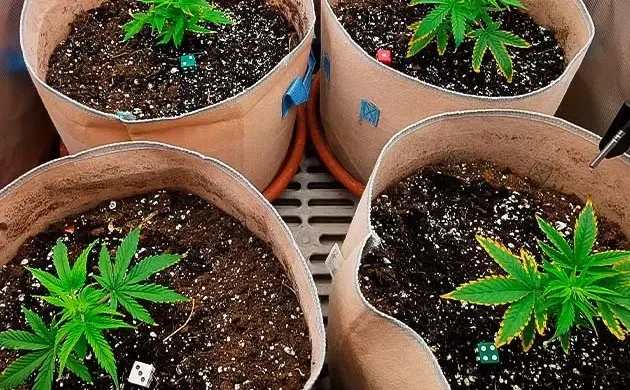
Week 1-2
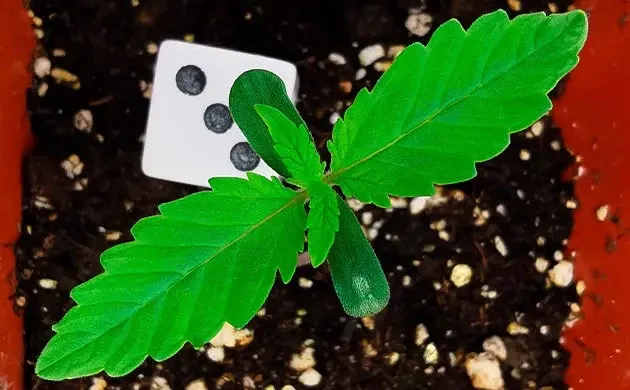
I germinated 4 seeds without making the process complicated. Each one went into a small glass with 30ml (1fl oz) of water and 5 drops of hydrogen peroxide. After 12h, I moved them into cotton pads, sealed each one in a ziplock bag, and waited.
After 2 days, all 4 seeds had opened. I planted them into 0.5l (0.1gal) pots about 1cm (0.4in) deep, misted the surface, and the seedlings broke through the soil the next day. From soaking to proper seedlings, the whole thing took 5 days.
The first week went smoothly. I started under 24/0, then switched to 18/6 at the end of the week. Humidity stayed around 70-75%, temperature was 25°C (77°F), and I kept the lamp 40cm (15.7in) above the pots. I didn’t really water yet, just misted each seedling once a day with 2-3 sprays. By the end of the week, they were about 5cm (2in) tall.
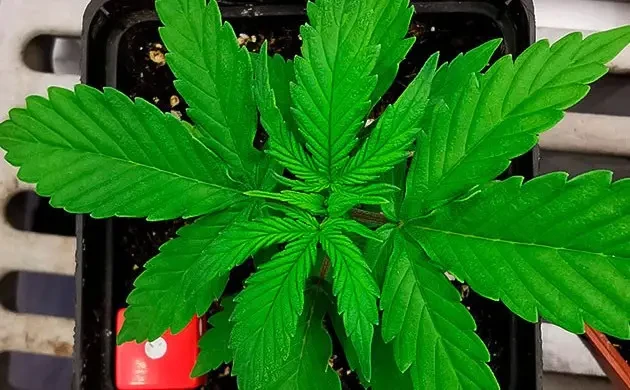
During the second week, I started feeding lightly: pH Perfect Micro, Grow, and Bloom at 2ml/l. Each seedling received 50ml (1.7fl oz) three times that week. Two plants looked a little weaker than the other two, even though they were all in the same conditions, but the group kept moving forward and had already built 3 proper nodes.
Week 3-4
By week 3, the plants were ready for bigger pots, so I moved them into 15l (4gal) containers. I was a bit careful with the transplant, but they handled it better than I expected.
The room stayed controlled, and the seedlings started looking more like small bushes. I kept the feed mild and watched the weaker pair closely instead of trying to correct everything at once.
Week 4 was the point where I began shaping the future structure. I didn’t want tall, narrow autos in that tent, so I started working the branches early and kept the canopy as open as I could.
Veg Progress and Training
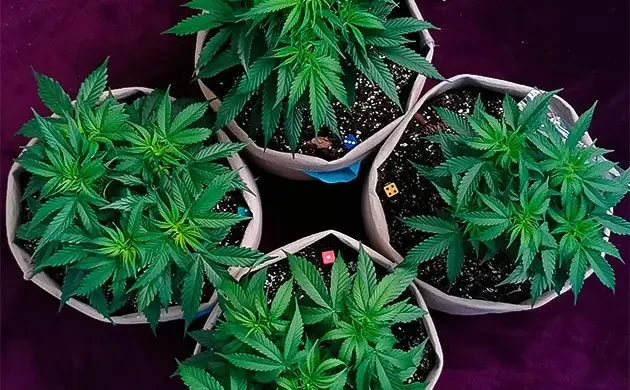
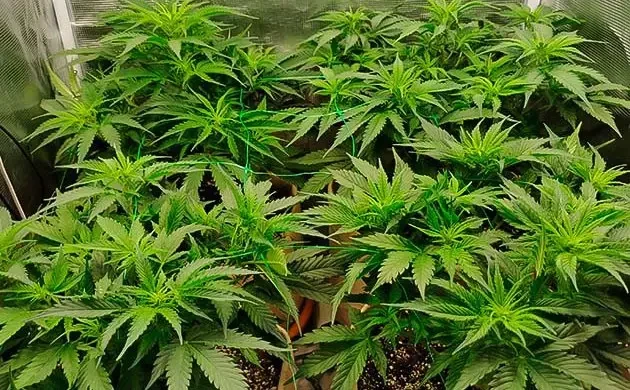
Week 5-6
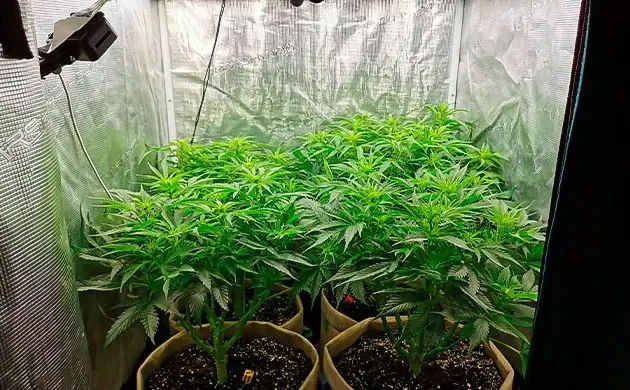
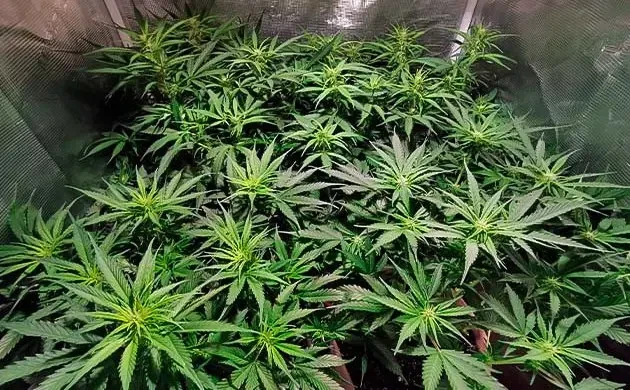
This stretch got a lot more active. The plants were in their 15l (4gal) pots, and I started pushing training harder with topping, bending, defoliation, and a ScrOG net.
I also made one of the classic early mistakes and overwatered. The plants slowed down for a bit, so I had to let the medium dry back before they looked normal again. Once they recovered, they started replacing lost foliage surprisingly fast. After one cut, I had to come back and clean them up again only a few days later.
By this point, they were drinking about 700ml (23.7fl oz) at a time, and I used a simple pattern: nutrients, then water, then nutrients again, with a day between waterings.
Week 7-8
Week 7 looked like the end of veg. Two larger plants were around 30cm (11.8in), while the other two stayed smaller but still looked fine. The structure was already different from the photoperiod plants I’d grown before, which was interesting to see in person.
The controller kept the tent stable at 24-25°C (75.2-77°F), with humidity around 55-60%. Ventilation and fans ran on a 30/30 cycle. I watered 1l (0.3gal) per plant and kept the nutrient mix at 3ml/l for each pH Perfect component.
At the start of week 8, I did a heavy defoliation and removed around 60-70% of the leaves. It felt like a lot, but the plants took it well. After that, each one got 1.5l (0.4gal) of feed with pH Perfect Micro, Grow, Bloom, and Big Bud at 3ml/l.
The plants doubled in height during this stretch. The smallest was around 50cm (19.7in), and the biggest reached about 80cm (31.5in). The tent also picked up a strong citrus-sulfur smell. It wasn’t exactly pleasant, but for Diesel genetics, it made sense.
The Flip and Early Flower
Week 9-10
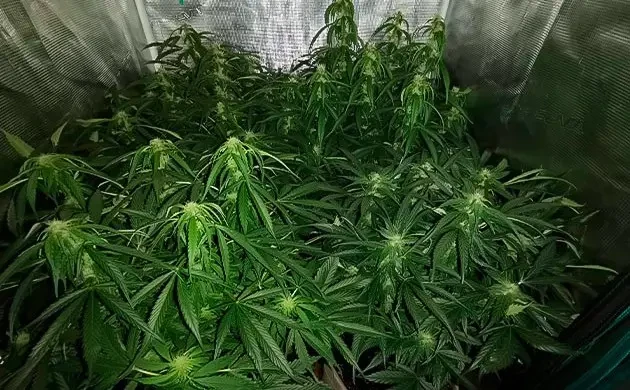
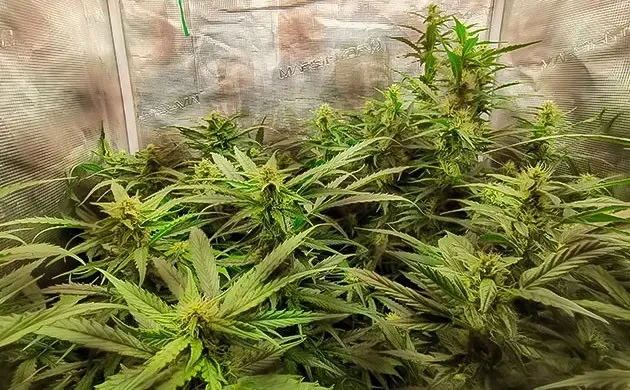
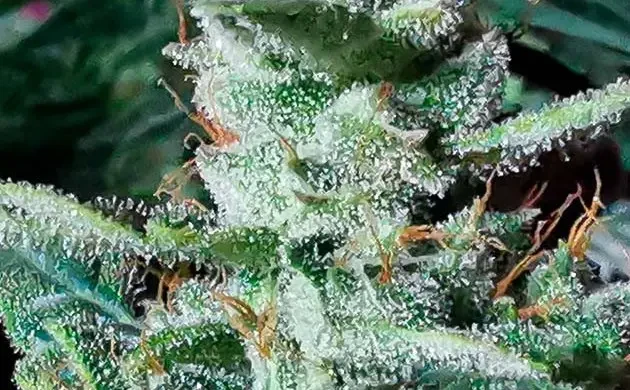
Flowering was properly underway now. The side branches were trying to catch up with the central tops, and the canopy looked more even than I expected, even with the size difference between plants.
I kept feeding regularly and stayed with the same general routine. Bud sites started to look more convincing, and the plants seemed to have accepted the earlier training instead of stalling from it.
The Diesel smell stayed in the room. It wasn’t subtle anymore, and without a carbon filter, the whole space made it clear what was growing inside.
Week 11-12
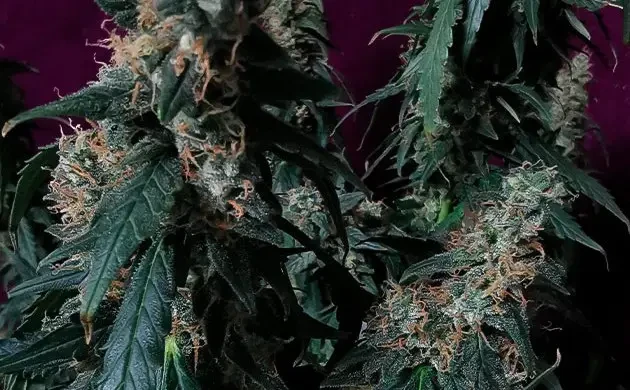
By weeks 11 and 12, the buds were much more formed. I still had to watch the plants carefully because the earlier heavy defoliation made me wonder whether I had removed too much lower growth.
The flowers kept filling in, but the structure also showed me what I’d probably change next time. I liked how topping worked on these autos, but I wouldn’t strip them quite as hard again.
There was also a bit of foxtailing by the finish. It didn’t ruin the plants, but it was visible enough to mention.
Late Flower and Finish
Week 13-14
From week 13, I stopped using nutrients and switched to plain water. It felt like there was enough left in the soil to carry the plants through the last days.
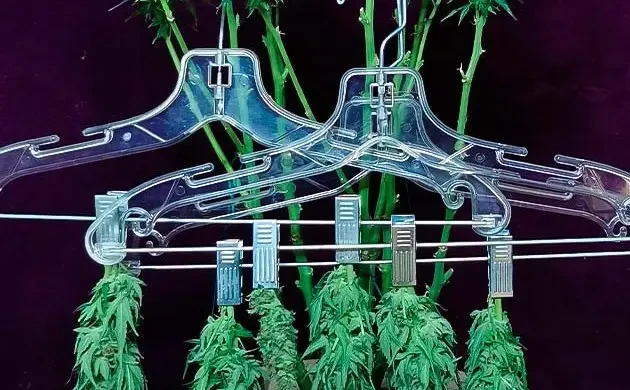
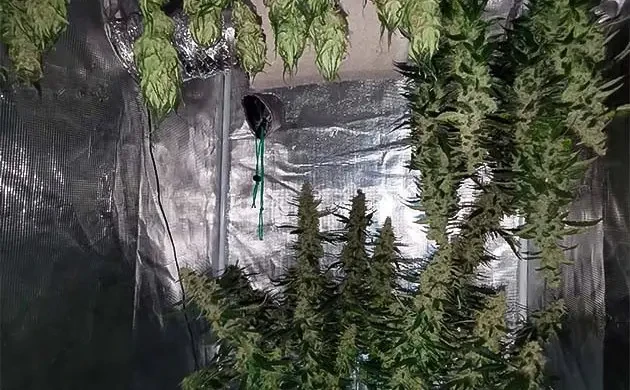
I also tried a partial harvest on one plant, cutting different parts at different times. By the end of week 13, that plant was fully down, and only the biggest one was still standing.
Week 14 closed the run. I kept watering with 1.5l (0.4gal) of plain water every other day, then cut all remaining colas at once. That finally put an end to the grow.
Sour Diesel Auto Yield and Final Thoughts
The final numbers were better than I expected for my first auto run. The biggest plant, cut last, gave 530g (18.7oz) wet and 75g (2.6oz) dry. The second plant, harvested in week 13, gave 475g (16.8oz) wet and 70g (2.5oz) dry.
The middle plant had the sweetest smell and finished at 230g (8.1oz) wet and 33g (1.2oz) dry. The lowest plant gave 199g (7oz) wet and 36g (1.3oz) dry. Altogether, the harvest came to 1434g (50.6oz) wet and 214g (7.5oz) dry.
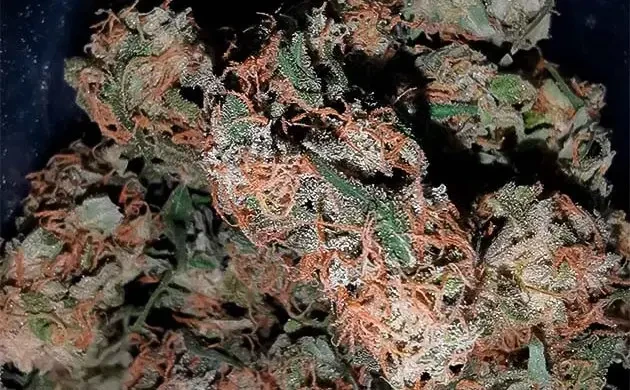
The finished flower differed a bit from plant to plant. Some buds had a sour taste with a citrus edge, some were sharper and almost acetone-like, and one group came out sweeter, with a fresh fruity side that I liked the most.
The effect felt very sativa to me. It brought a fast rush of thoughts, pushed my mood toward talking and doing things, and made it hard to just sit still. The only real downside was that too much could turn edgy and paranoid.
For a second grow and a first run with autoflowers, I’m fully happy with the result. I’d go easier on nutrients in early veg, defoliate less next time, and leave more lower growth. But the main lesson was clear enough: topping autos can work, at least with Sour Diesel Auto.
Herbies Head Shop expressly refuses to support the use, production, or supply of illegal substances. For more details, read our Legal Disclaimer.


- Shared on Twitter
![icon]()
- Shared on Facebook
![icon]()



Thank you for leaving a comment for us!
Your feedback will be posted shortly after our moderator checks it.
Please note that we don’t publish reviews that: