Blue Dream Week-by-Week Grow Report: Watch Me Harvest Close to 6 lb in 10 Weeks of Flowering

Hi everybody! In this Blue Dream week-by-week grow report, I’ll describe my latest run with this strain by Garden of Green. It all started very business-like, as I think of myself as a semi-professional cultivator, but the grow was so good that I decided to share my experience. So, I started taking pictures and making notes when I switched to flowering.
I was right to expect great things from this grow, as my nine Blue Dream plants got me terrific yields of more than 2.5 kilos of trimmed and dried buds after 10 weeks in bloom. The smell, taste, and high were all top-notch and way better than in my first, sloppier run with this strain.
Disclaimer: Cannabis cultivation laws vary by region. This information is intended for use in areas where growing cannabis is legal. Please check your local laws before proceeding.
Overly Long Veg Due to Spider Mite Attack
I didn’t start my Blue Dream strain grow diary until I switched to 12/12, but if I remember correctly, the veg was way longer than usual. The reason was that I first neglected the use of Azamax, and then it was too late and I had spider mites crawling all over my veg tent. I had to deal with this issue, and it took me quite a while before my nine Blue Dreams were squeaky clean and ready to begin flowering.
Blue Dream Strain Grow Diary: Switching to Bloom
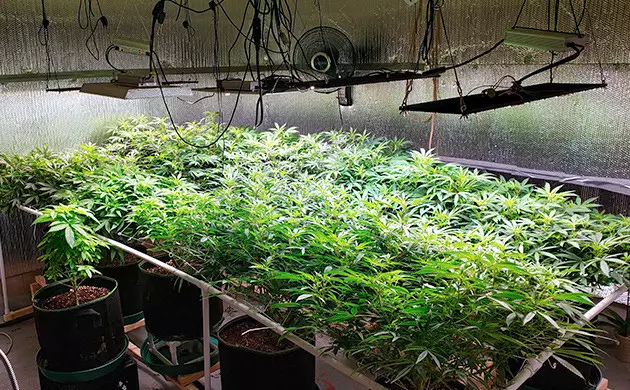
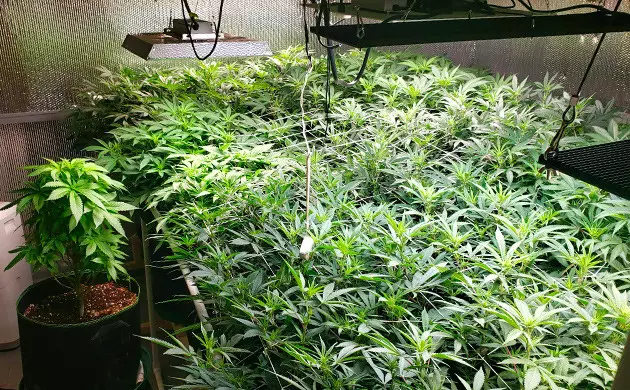
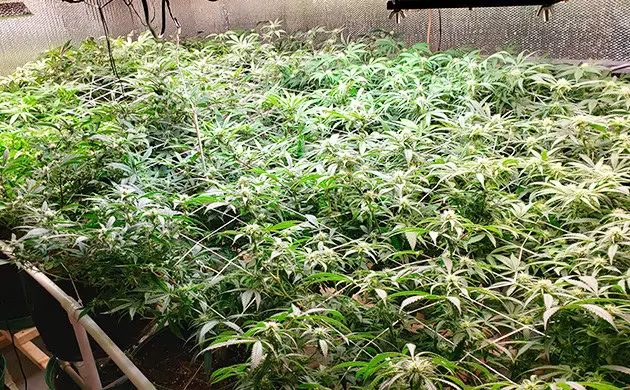
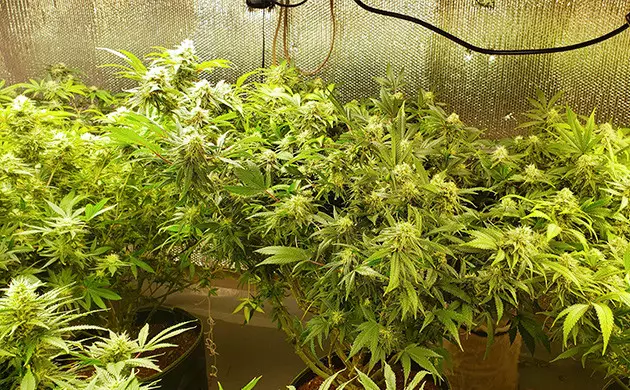
As I said, I had nine plants, which I had vegged for too long and kept in 7-gallon (26.5-liter) fabric pots. They ended up growing into real beasts, pushing against my ScrOG setup and trying to lift the whole thing into the air. One should spend less time vegging their plants and have fewer of them in the same square area – this way, they’d be more comfortable with ScrOG.
I filled the pots with coco and perlite. I bought coco in bricks and broke it down, washed it, and buffed it myself. I’ve been using less and less perlite (all the way down to 20% in this run), but I want to try to add more next time and see if that lets me save on the nutrients. The thing is, I use a drain-to-waste system, and with more perlite, you need to use less water before you get the runoff.
Science Class All Over Again
For nutrients, I always use General Hydroponics. Every time, I plan to try something else – to see if I can get a better taste, maybe – but I always end up using GHE again. It’s never caused any trouble for me, and why fix something that isn’t broken, right? My staple is the complete Flora line, which I start at 1/2 strength and then work my way up to 5/8, by which I mean I use five parts nutrient solution and three parts RO water.
Besides Flora, I gave my Blue Dreams a Cal-Mag supplement (which is a must in coco), a silicon product to make the branches more sturdier, and a whole bunch of bloom boosters that are too numerous to describe. It’s pretty time-consuming to calculate all those nutrients – you need to do a lot of math. By the way, I used the bulk of these amendments in the early and middle stages of flowering and then gradually switched to just the bare essentials.
Naturally, I was monitoring the TDS and gradually went from 550 to 750 ppm (EC 1.5) until the final flush. As for pH, I kept it at a steady 5.8, which is just in the middle of the acceptable range for coco (5.5-6.0).
Not Much Success with ScrOG
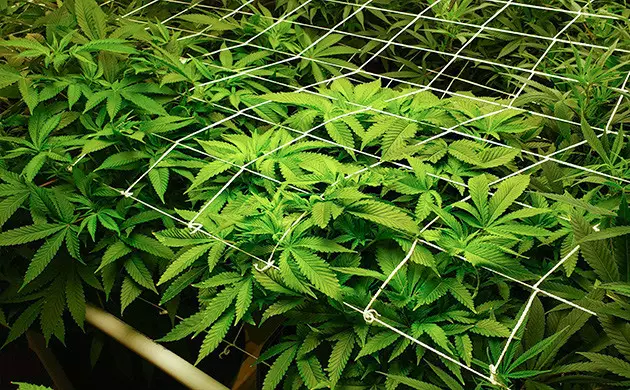
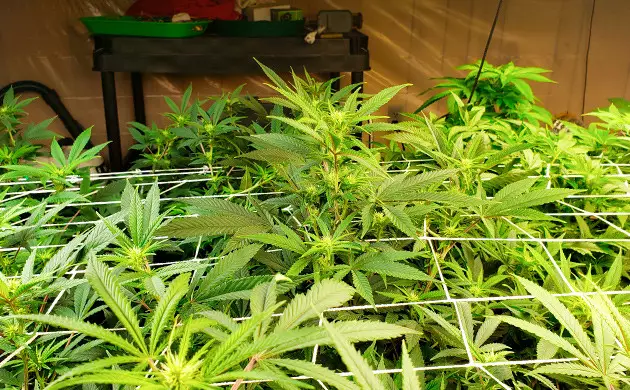
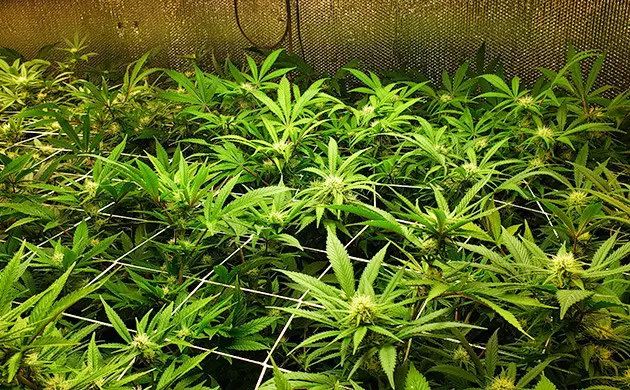
It was the very first week of 12/12 when I saw that only one layer of netting wouldn’t do. The branches were simply too many and too long to try to tuck them under. This is why I installed a second layer and used it for training. I also discovered a number of strong branches with quite sizeable buds that were still under the net. I thought I’d give them until week 4 to make the canopy and then prune each that hadn’t.
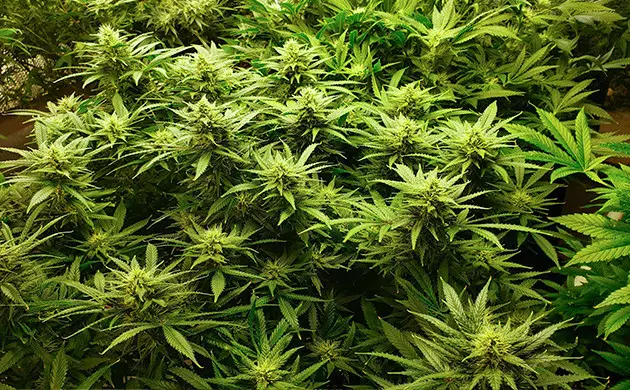
The Screen of Green method requires constant work, and if you miss a week for whatever reason, it’s almost impossible to catch up. So, I missed out on the pruning and defoliation, and my canopy became a tangled mess. Finally, I had to de-install both layers of my ScrOG – the job took me 2 days.
Fighting to Keep the Conditions Just Right
The problem with too much vegetation is that all those leaves evaporate an insane amount of moisture. I had a dehumidifier running 24/7, but it was barely keeping up. I checked my grow every day and defoliated lightly – just a few leaves here and there at a time – and when the buds began to really stack up, I was manually shaking each of them to provide better airflow.
At some point, I had to stop nipping the leaves because everything became too sticky. I’m proud that I never let RH go higher than 60, and I brought it down to 40 by harvest time. As for the temperature, it wasn’t that hard to keep it in check. The day temps hovered around 78°F (26°C), and at night, I let them drop to 74°F (23°C) in early-to-mid flower and to 68°F (20°C) in the last few weeks. I’d say it was perfect.
Blue Dream Strain Review: The Progress in Flower
In the first couple of weeks of 12/12, I still managed to tuck in the fastest-growing branches, but soon the screen was completely filled and the branches had nowhere to go but up. My Blue Dream ladies didn’t stretch much though – from 24 to 36 inches, or just 50% – and then the height of the canopy actually decreased because the colas began to stoop.
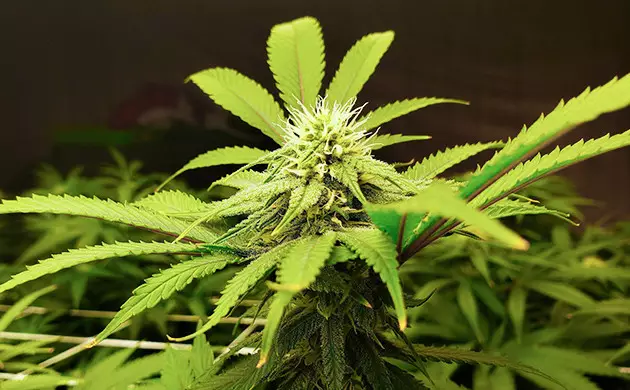
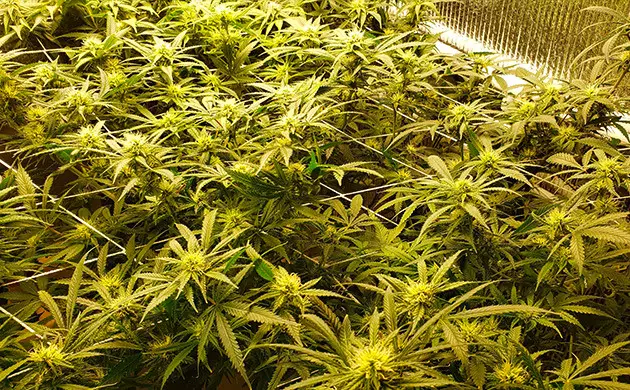
They started to fill out pretty soon, which is no wonder with all those powerful lights I was running. When I first tried a LED, it was a Mars Hydro TS1000 – a pretty decent ‘blurple’ one, but I later added a few much more efficient quantum boards that collectively drew 1560 W. They made the buds huge, super dense, and quite resinous, but also somewhat stinky. I was on my T-break then, and it required all my willpower not to harvest them prematurely with all that sweet fruity smell.
My Blue Dream Strain is Ready for Harvest
I was relying on the info from the breeder’s description for my timeline, and after 7 or 8 weeks of 12/12, I started watching the trichomes under a microscope and began the final flush.
This was my first time trying Advanced Nutrients Flawless Finish instead of my usual GHE FloraKleen. It’s hard to say which of them (or plain water) works better. Coco becomes lighter in color when you do the flush, and I think I saw that happen quicker with Flawless Finish.
All through the flush, I kept inspecting the trichomes. They were mostly cloudy, but some were still clear. You know how the THC level is the highest with all of them cloudy and a few ambers here and there? I could barely wait for that! The smell was so amazing that I had to actually call a friend to talk me out of harvesting my Blue Dream ladies right there and then.
For the last 4 days, I stopped watering altogether and switched to 10/14. I also gave my Blue Dream girls 48 hours in total darkness before chopping them – 70 days from the 12/12 flip.
Blue Dream Strain Taste and High
The yield was fantastic! Out of twelve seeds, one was a no-show while two were runty and disappointing, but the remaining nine brought me 2667 grams (~94 ounces). However, it was the quality of this weed that really blew me away.
The terp profile was super strong. When the grassy smell cured out and only the necessary terpenes remained, the aroma became sweet and fruity, with strong notes of citrus and pine. The flavor of the smoke was the same, and before I was even done savoring the taste, I felt a strong and beautiful high rushing into my head, keeping me happy and uplifted.
I want to finish my week-by-week review by recommending the Blue Dream strain by Garden of Seeds to anyone who appreciates strong, easy-to-grow genetics with pleasant effects. Happy growing!
Herbies Head Shop expressly refuses to support the use, production, or supply of illegal substances. For more details read our Legal Disclaimer.


Thank you for leaving a comment for us!
Your feedback will be posted shortly after our moderator checks it.
Please note that we don’t publish reviews that: