Air Layering: Cannabis Cloning Made Extra Easy
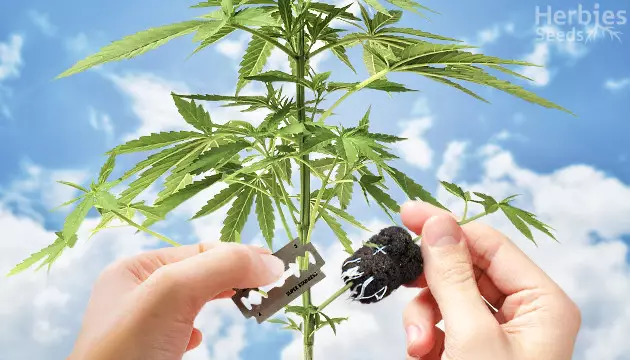
What’s all the hype around cloning? Well, if you love a certain strain or want to preserve certain genetics, cloning gets you what you want for future cannabis generations. Most of the time, when you hear discussions about cannabis cloning, people are talking about plant cutting. However, that isn’t always the case – there’s another, simple cloning method: air layering cannabis.
What Is Air Layering?
Propagating cannabis refers to any method in which new plants are grown from an existing parent plant – for example, by taking cuttings. Air layering is another propagation technique that often has better results than other methods and is perfect for cloning marijuana plants. The clones maintain a connection with the parent plant, while also establishing a healthy root system and taking in nutrients without causing any damage.
The Science Behind Air Layering
This process goes by several names: air layering, air cloning, air layer propagation. Before being combined with cannabis, air layering has been a popular practice in gardening for a long, long time. Fruit-bearing trees, for example, respond very well to air layer propagation. You’ve certainly already seen the results of air layering out in nature: if you’ve ever noticed a tree with a large branch dipping to the ground before reaching back up again, chances are it’s probably rooted itself into that spot as well. We can use this knowledge in home growing by sealing off cannabis branches in a dark, moist location with moss and fertilizer so that new roots can grow on that section of the plant.
Pros Of Air Layering
What makes air layering better than other cloning methods? First of all, this technique is by far the easiest, quickest, and most successful method of cloning. If you play your cards right, new roots could sprout within as little as two weeks. The mother plant's genetics get preserved in the clone without incurring damage herself. Air layering also takes up less space than cloning from trimmings, which means fewer pots for seedlings. Cannabis enthusiasts without a lot of grow space can definitely appreciate that point!
Cons Of Air Layering
Of course, there are drawbacks to any cloning method. It is, after all, a wound that you are inflicting on your mother plant. That means it’s a potential site for infection, not to mention the cloning site will take more nutrients from the mother, which could add to her stress. Bottom line: if, for some reason, your air layering project doesn’t work out, that’s a branch of your mother plant that will suffer in production from being cut into.
How To Air Layer Cannabis
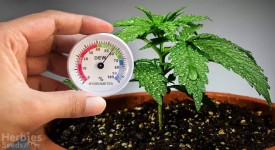
Some quote the success rate of air layering at over 95%, so it would be foolish not to give it a try! Before you get started, you should also know when to air layer: your female plant needs to be big and strong, but still in the vegetative stage.
Equipment For Air Layering Cannabis
You’ll have to visit your local gardening store for this one! To start air layering, here’s what you’ll need:
- A sharp, clean blade
- Rapid Rooter/Root Riot (optional)
- Rooting/cloning gel
- Sphagnum moss (otherwise known as peat moss) or rooting blocks
- Plastic wrap, opaque or black
- Rubber bands, twist ties, cable ties, or tape
- Cotton swabs
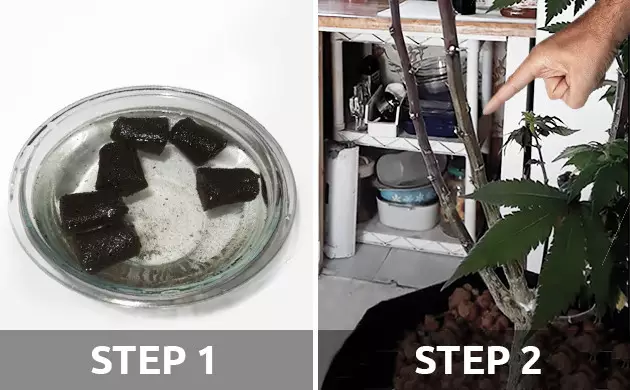
Step 1: Soak Your Rooting Material
Whether you’re using moss or rooting blocks, soak it in water for a while. Before you use it, squeeze it out to eliminate any excess water.
Step 2: Pick A Branch
At this point, you should already have the branch that you want to clone picked out. If not, choose a strong branch with lots of vegetative growth. Locate the lowest, most visible node on the branch you’ve chosen. It may be necessary to trim back some leaves to make room for the cloning site.
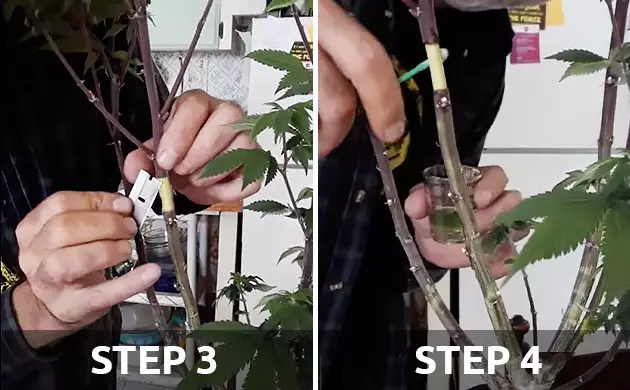
Step 3: Prepare The Clone Site
At the site where you plan to start the clone, score the branch by running the knife at an angle. You don’t want to cut through the branch! Think of it more as a peeling motion – your aim is to scrape away the top layer of the branch to expose the moist interior layer. The wound should be about an inch long, or 2.5 centimeters.
Step 4: Rooting Gel (And Rapid Rooter)
Next, use a cotton swab to apply the rooting gel to the area you’ve just scored. Spread a thick layer all over the area. Optionally, you can follow this step by adding Rapid Rooter. Cut halfway through the Rapid Rooter (like a hotdog bun), dip it in room temperature water, and wrap it around the clone site.
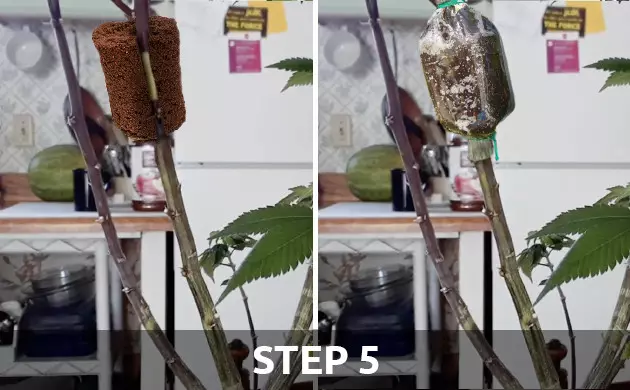
Step 5: Seal In The Moss
Now it’s time to get the moss involved. Wrap the moss (or rooting block) around the scored part of the branch as well as the surrounding area. Wrap it in plastic and tie off the ends with rubber bands or whatever you’ve got handy. The idea is to seal in the moisture to encourage root growth.
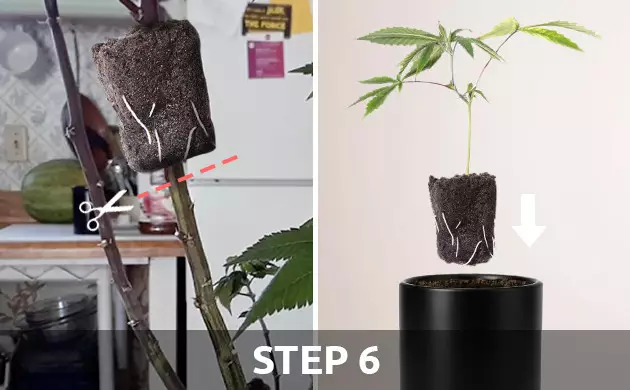
Step 6: And Now We Wait!
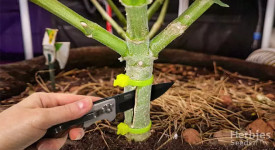
It will take around two to three weeks for the clone to develop roots. Once you’ve noticed that the branch has developed several healthy roots, it’s ready to be transplanted. Undo the plastic. Using a sterilized, sharp knife, cut the branch away from the mother plant. Prepare a pot of soil, plant your new clone, and water her lavishly over the next several days.
Cannabis Cloning Made Easy
Who knew it could be so simple? For growers low on space as well as those new to cloning, the air layering technique is undoubtedly the ideal way to clone. Have you expanded your growing interests into cloning as well? Which methods have you had success with? Let us know in the comments below!
Herbies Head Shop expressly refuses to support the use, production, or supply of illegal substances. For more details read our Legal Disclaimer.




Thank you for leaving a comment for us!
Your feedback will be posted shortly after our moderator checks it.
Please note that we don’t publish reviews that: