


How to Plant Marijuana Seeds Directly in Soil, and Should You Do That?
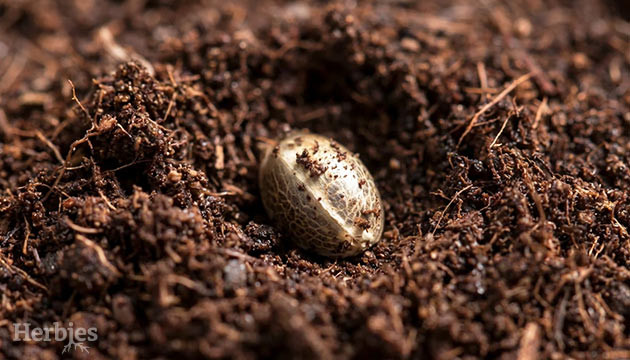
Germinating cannabis seeds in soil is like going back to the basics for growers. It may be easy as pie, but there are a few drawbacks to watch out for. Let's dig into the pros and cons, walk you through the process, and clear up any burning questions you might have!
Pros and Cons of Germinating Marijuana Seeds Directly in Soil
If you're not sure whether you should put your seeds directly into soil instead of using other options, check out the good and the bad of this method of germination. And remember, the water glass and paper towel methods are much safer and have a higher germination success rate overall, so we only recommend these two.
Pros of the Soil Germination Method
Planting cannabis seeds straight into soil is the go-to choice for all organic gardeners out there. It's so easy and natural, making it a no-brainer for those looking for a fuss-free approach. Here are the perks of ditching the fancy equipment and going old-school with starting cannabis seeds in soil.
- Simplicity: Just chucking seeds into the soil and watching them sprout is as simple as it gets, making it beginner-friendly.
- Minimal handling: Germinating cannabis seeds in soil requires minimal contact with the seeds, minimizing the chance of them getting damaged.
- Reduced transplant shock: Transplanting seeds can be stressful for them, especially if you're not used to the process, thus slowing down their growth for a bit.
- Cost-effectiveness: This can be a cheaper option than other methods because you don't need as many supplies.
Cons of the Soil Germination Method
Growing seeds in soil has its advantages, but there are also some cons that might make some growers think twice. The main downside is dealing with issues of control and predictability.
- Uncertain germination: The type of soil, how moist it is, and the temperature can all be different, which makes it harder to predict how well your seeds will pop.
- Slower germination: When you're growing seeds in a controlled setup, you can speed up the process by making sure everything's just right. However, it's not as easy to keep things perfect when you're germinating directly in soil.
- The risk of overwatering or underwatering: If you water too much, you could end up with mold or rot that kills the seed before it even has a chance to grow. Conversely, if you don't water enough, the seed might not germinate at all.
- Difficulty monitoring seed progress: After you place the seed in soil, it's harder to check on its status without disturbing it. This makes it difficult to adjust conditions quickly.
- Pest and disease exposure: Soil can sometimes harbor pests and diseases, which can affect the seed before it even germinates. This risk is higher if the medium isn't sterilized or if conditions are too damp.
- Dependence on soil quality: Poor soil can be too compact, too loose, lack essential nutrients, or have an improper pH level, all of which can hinder germination and early root development.

How to Germinate Cannabis Seeds in Soil in 5 Steps
Now that you know all the pros and cons, let's break down the process into five simple steps, ensuring that even beginners can follow along successfully.
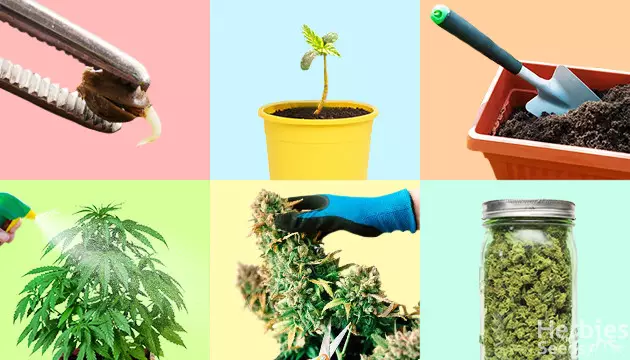
What you’ll need

Before you begin, it's important to gather all the necessary materials to create a suitable environment for your cannabis seeds to thrive. Here’s what you’ll need:
- Cannabis seeds: Picking high-quality cannabis seeds will increase their germination rates.
- Potting soil: Use light, sterile, and nutrient-rich soil that allows for good drainage. Avoid using soils from your backyard or medium with added fertilizers, which can harm young sprouts.
- Containers: Small pots or seed trays, preferably with drainage holes.
- Something to cover up containers: A clear plastic wrap, for example.
- Watering tool: A spray bottle is ideal for gently watering the seeds.
- Light: Fluorescent or LED grow lights, if not using natural sunlight.
- Tweezers (optional): These are great for handling your seeds without the risk of damaging them.
- pH meter (optional): To check the soil’s pH level, ensuring it's around 6.0 to 7.0.
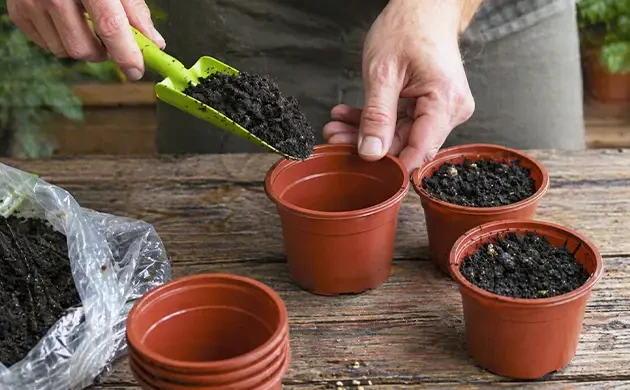
Step 1: Prepare Containers
Start by filling your pots or seed trays with the potting soil. It should be loosely packed to allow air and water to circulate, but not so loose that the seeds settle too deep. Typically, filling up to about 2-2.5 cm (1 inch) from the top of the container works well.
Before planting the seeds, ensure the soil is evenly moist. Use a spray bottle to mist it gently until it’s damp but not waterlogged. If using a heat mat, set up your containers on the mat to warm the soil slightly, which will encourage faster germination. You can also label your containers to remember which seed goes into which pot.
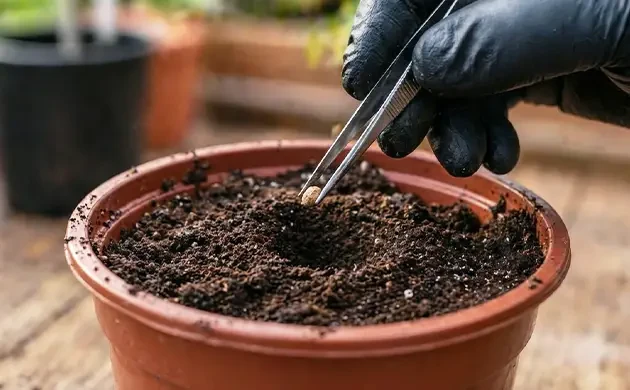
Step 2: Plant Your Seeds
Planting the seeds correctly is crucial for good germination. Use your finger or a pencil to make a small hole in the soil about 1 cm (¼-inch) deep. Place one seed into each hole, and don’t worry about the seed’s orientation. Then, gently cover the hole with soil. There’s no need to pack it tightly on top of the seed; a light covering will do.
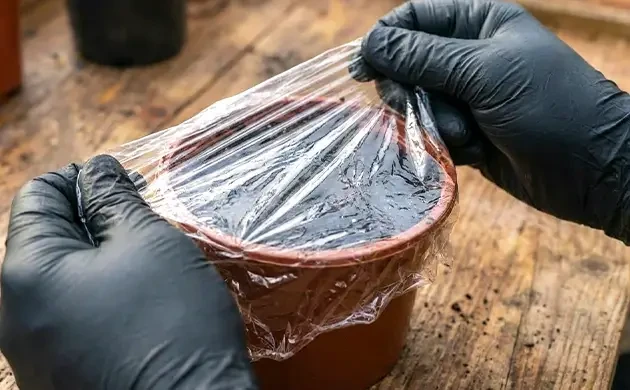
Step 3: Create a Humid Microclimate
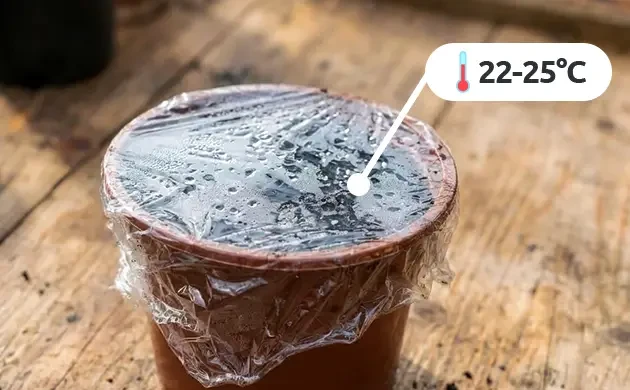
Use a clear plastic wrap or a propagation dome to cover your pots. This retains humidity and warmth. Look in on your seeds each day to ensure the soil is still damp. Use the spray bottle to gently mist it as needed.
Step 4: Monitor Temperature and Moisture Levels
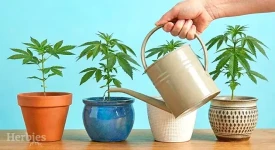
Keeping an eye on the growing conditions will greatly affect the success rate of your germination. Keep the heat mat on if using one, ensuring temperatures stay within the 22-25°С range during the day and around 17°С at night. The soil should also stay moist but not soggy. Adjust your watering accordingly. If you notice condensation building up excessively under the plastic, remove it periodically to let air circulate and prevent mold growth.
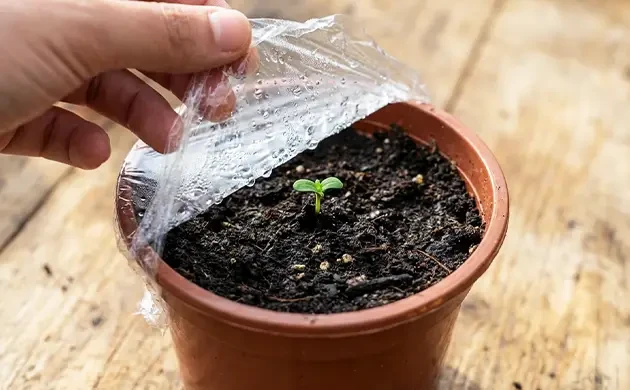
Step 5: Await Germination
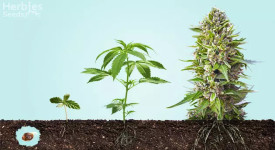
Germination can take anywhere from a few days to a week or more, depending on the seed strain and the conditions provided. When germinating marijuana seeds in soil, you’ll first see the cotyledons, or seed leaves, which will appear before the true leaves develop. Once the sprouts appear, remove the plastic wrap or dome to allow the seedlings to get plenty of fresh air. If you haven’t done so already, place the seedlings under grow lights indoors or in a sunny spot outdoors to encourage healthy leaf development.
What Else Should You Know Before Planting Weed Seeds in Soil?
Before planting weed seeds directly in soil, you should consider the nuances of the process that can significantly impact your cultivation success. Here's a brief rundown of what you need to think about before you start planting.
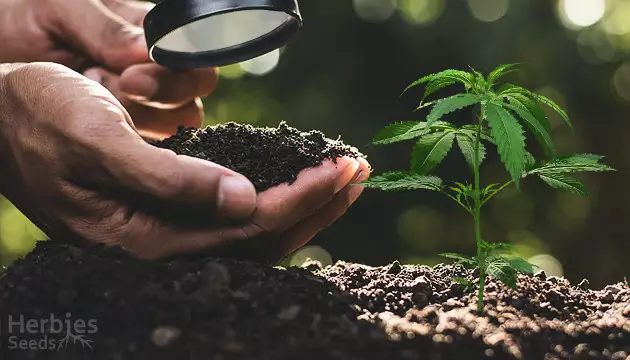
What Kind of Soil to Use
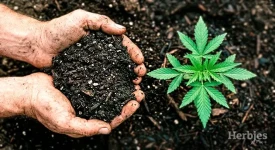
Choosing the right soil is key for the successful germination of weed seeds. You want something fluffy and light so that those sprouted seedlings can breathe and drain properly. Don't suffocate your seeds with a heavy, compacted mess. Good drainage is essential to prevent water buildup as well as mold and root rot. Throw in some perlite or vermiculite to level up your drainage game.
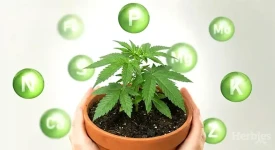
Starting off with lightly fertilized soil is the way to go for those tender young plants. They don't need a buffet of nutrients right off the bat. Too much fertilizer can stunt their growth and mess with their delicate roots. Cannabis plants do best in slightly acidic soil with a pH of 6.0 to 7.0.
How Deep to Plant Marijuana Seeds Directly in Soil

When it comes to planting your cannabis seeds, don't underestimate the importance of depth. As a handy tip, aim to plant them twice as deep as their width. For most marijuana seeds, that translates to around a quarter to half an inch deep. Once your seed is snug in the hole, gently cover it with some loose soil. And remember, don't go smashing it down – compacted soil is like a tough obstacle course for your little sprout to navigate through.
How Long Does It Take Weed Seeds to Pop Out of Soil?
The time it takes for weed seeds to pop up can vary depending on the quality of the seeds, the medium you use, and the conditions you place them in. For most marijuana seeds, you can expect to see some action within 3 to 10 days, as long as everything is just right. Older seeds can take longer to sprout.
What If Weed Seeds Don't Pop Up?
Sometimes, despite your best efforts, seeds may fail to germinate. Before taking any action, make sure enough time has passed. Some seeds simply take longer than others.
Seeds need to be moist to germinate, so ensure the soil is wet, but not too much. Then, examine the other conditions. If the soil is too cold or compact, it may hinder germination. Adjusting the heat or aerating might help. If you germinate your seeds by planting them too deep, they might not have the energy to reach the surface. Consider replanting any ungerminated seeds at a shallower depth or using other germination methods. Finally, poor seed quality could be a reason for failure. Using fresh, high-quality seeds from a reputable source greatly increases your chances of success.
Wrap-up
If you're a grower seeking a simple, eco-friendly, and budget-friendly approach, opting to germinate and grow weed in soil is one of the best ways. But beware, it's not all rainbows and unicorns. You'll need to carefully monitor growing medium conditions and be on the lookout for pests and inconsistent germination rates. It all boils down to weighing the pros and cons and figuring out if you've got the knowledge and patience to tackle soil germination. Whatever germination method you choose, we hope you grow cannabis successfully and have fun!
Herbies Head Shop expressly refuses to support the use, production, or supply of illegal substances. For more details read our Legal Disclaimer.
- Shared on Twitter
![icon]()
- Shared on Facebook
![icon]()


Thank you for leaving a comment for us!
Your feedback will be posted shortly after our moderator checks it.
Please note that we don’t publish reviews that: