


Orange Bud Auto Grow Diary and Review

Hi, friends! One of my most recent grows was Auto Orange Bud by Dutch Passion. I chose this particular seed bank because they seem to have the original Orange Bud Auto and I’m not crazy about knock-offs offered by others.

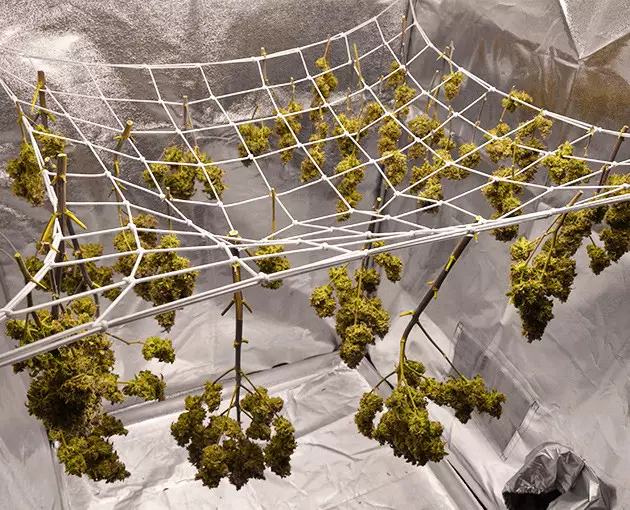
I grew my one Auto Orange Bud weed plant indoors in a 4x4 grow tent under a 300W light, and I harvested over 12 ounces (343g) in 93 days from seed – quite an XXL yield and definitely a personal record for me!
This impressive haul was even more surprising considering that it was an experimental grow – the feeding regimen was the same that I had perfected over the years, but I used more heavy defoliation than before. Read my complete Auto Orange Bud grow diary for the details.
The Seedling Stage
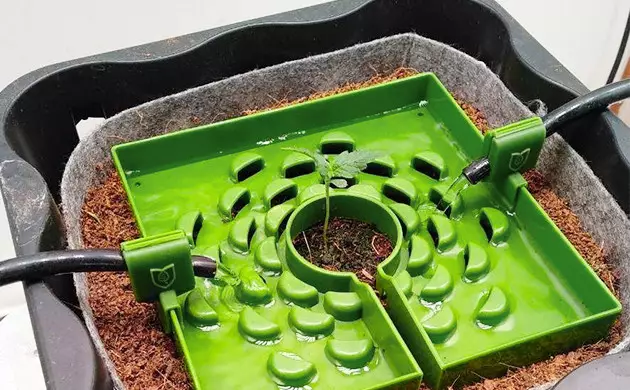
I always start my autoflowers in a separate veg grow box under a 150W LED. As a medium, I use coco and leave it as is without adding any perlite. With my automatic drip system, this works fine and doesn’t lead to issues with overwatering. Of course, I buffer the coco with a Cal-Mag supplement in advance.
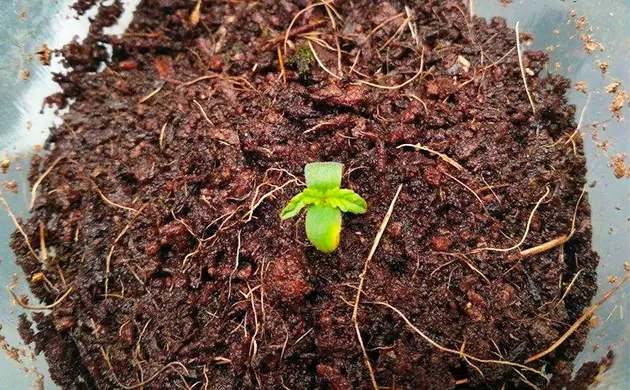
I started my Orange Bud Auto seed in a simple transparent plastic cup filled with a little coco, and she soon came up, already without the ‘helmet head’ because the medium was moist and had softened it enough so that it came off on its own.
It’s hard to say if this weed strain is more Indica or Sativa. The seedling had broad, deep-green leaves and then retained a compact and dense structure throughout the vegetative phase. The quality of the buds at harvest was also definitely Indica-like. At the same time, the plant was very bushy and stretched like a Sativa at the start of flowering – exactly in accordance with the info that Dutch Passion gives about its Auto Orange Bud version.
The development of the seedling was rapid and trouble-free, and on day 5, I transplanted her into a 10-liter (2.64-gallon) bag filled with coco. At this point, I installed my automatic drip system that would top-feed the plant ‘til harvest.
The Vegetative Phase
In coco grows, the key to success is the nutrient schedule. Unlike soil, you have to feed your autoflower nutrients from day one. I always use a Plagron product called Cocos A&B, which is a 2-part formula that you simply add to water in equal amounts using the manufacturer's chart.
For most of the grow, it was as simple as that. It was only much later, in week 9, that I started adding other products to further boost the growth. In coco, it’s also very important to monitor the pH of what goes both in and out. I kept the pH of my nutrient solution at around 5.8-6.1. I’ve read that it’s okay to let the readings fluctuate a bit to facilitate better absorption of different nutrients.
The Light Schedule
I ran my light at 20/4, and not just in veg but also in the flowering stage. Such long day hours neither prevented Auto Orange Bud from budding nor extended its flowering period. Looking back now, I think that maybe I should’ve exposed her to less light because toward the end, the girl looked a little stressed out. On the other hand, longer hours probably contributed to bigger yields.
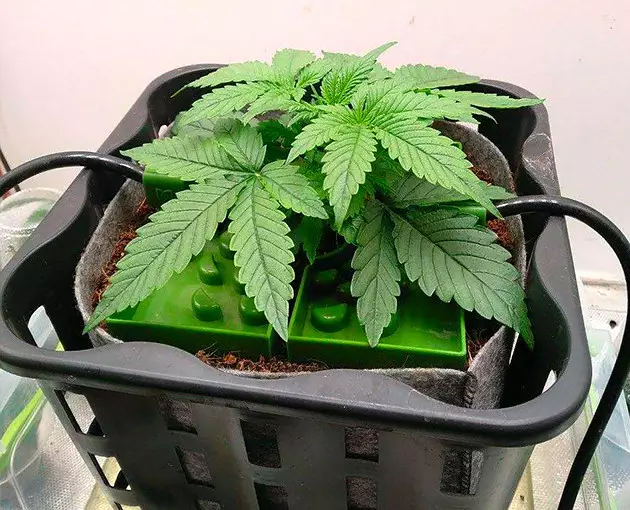
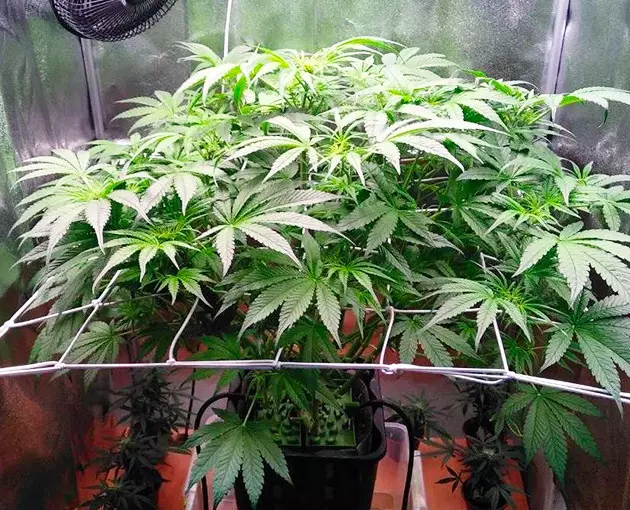
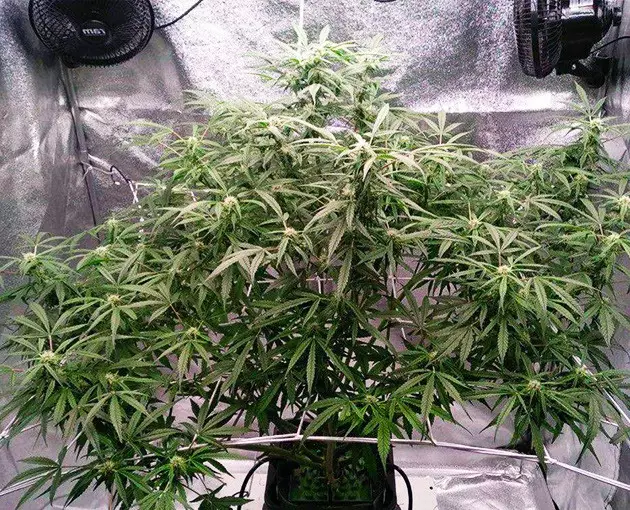
A Very Bushy and Leafy Plant
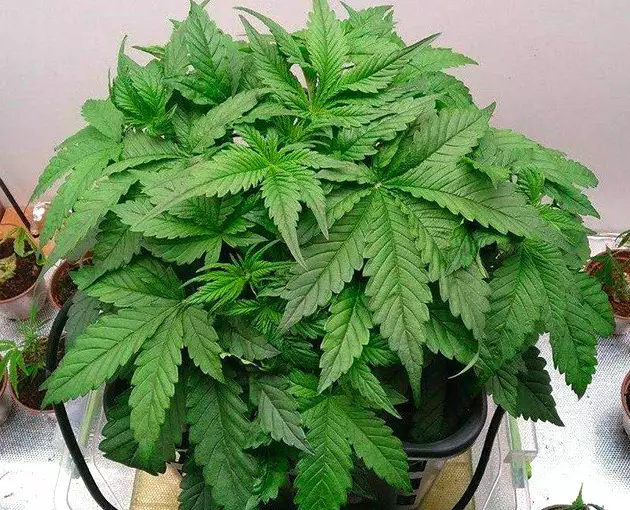
Throughout the veg, my Auto Orange Bud stayed very compact and lush, with huge broad leaves growing practically on top of each other and impenetrable to light. In week 4, I did the first bout of defoliation, removing every bigger fan leaf, but that hardly changed anything, as the girl grew everything back in less than a week and with a vengeance.
By week 6, when she revealed her sex and was about to transition to flowering, my Orange Bud Auto looked like a huge green ball of foliage. Some of the fan leaves were as big as my hand, and the first thing that I did when the flowering started was a thorough haircut, which revealed countless primary and secondary branches.
Moving to a New Home in Flower
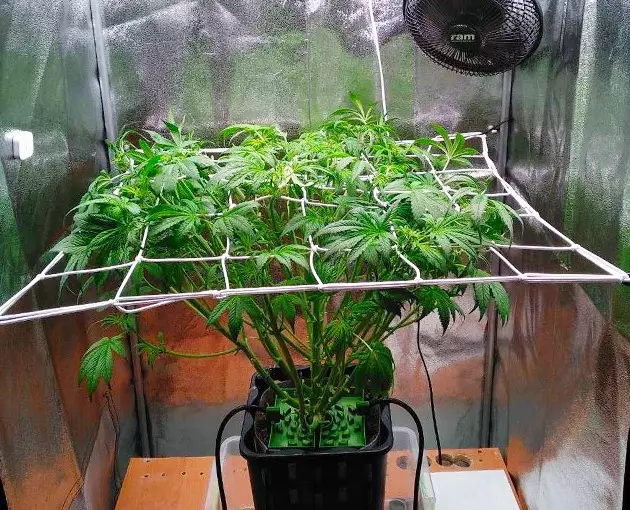
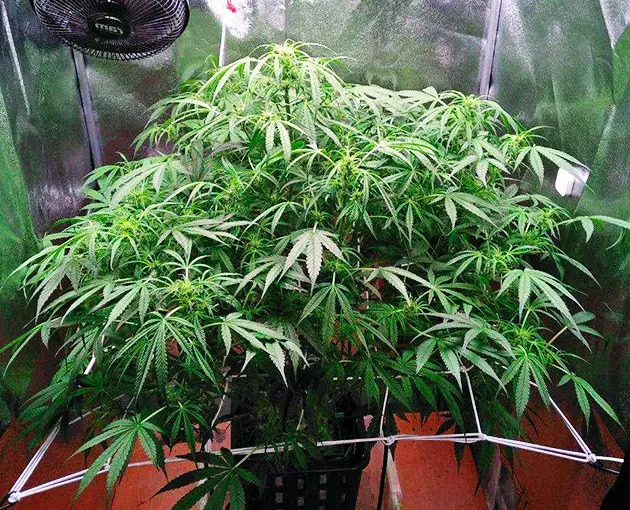
For flowering, I use a 4x4 grow tent equipped with a 300W LED light. To use it more efficiently, I train my autos with a ScrOG setup. When I ScrOG’ged my Auto Orange Bud, her canopy was no longer round but more or less flat. To achieve that, I just placed the screen quite low and spread the branches across the surface. The main top was still too tall, so I supercropped (half-broke) it. I didn’t bother to tie it down, and the next day, it stood vertical again as if nothing had happened.
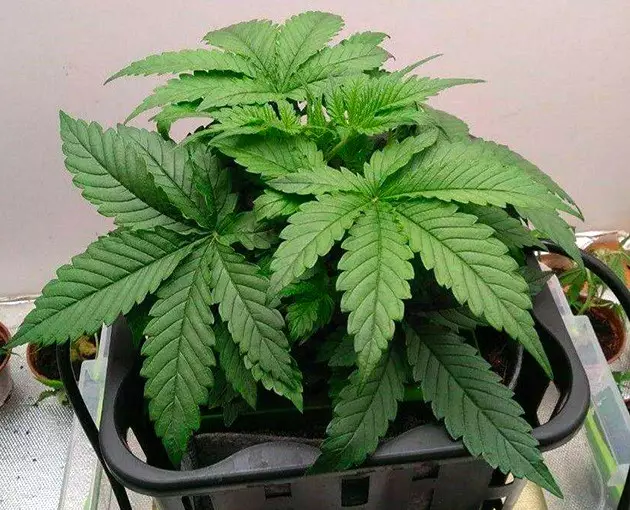
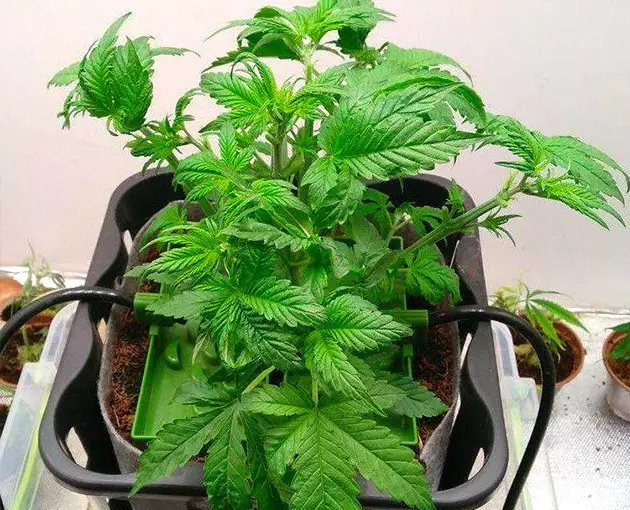
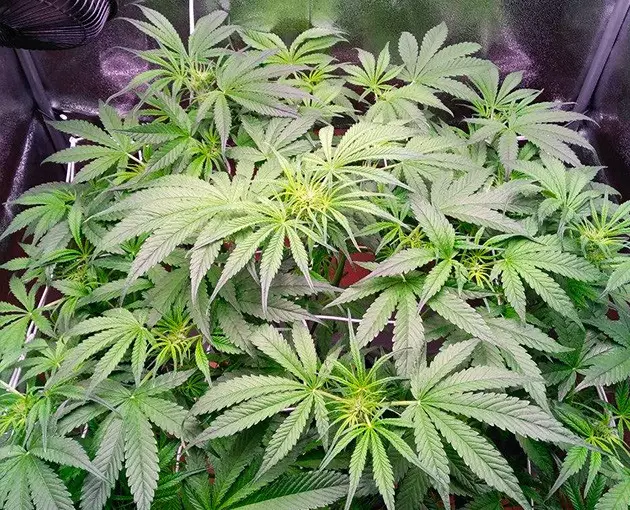
Defoliating the Hell out of Her

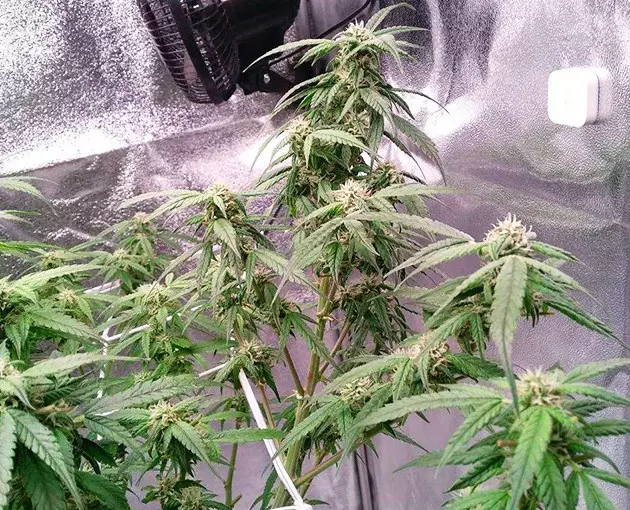
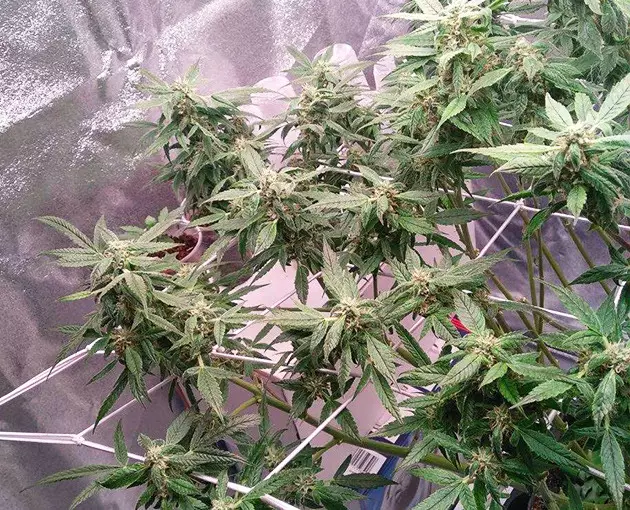
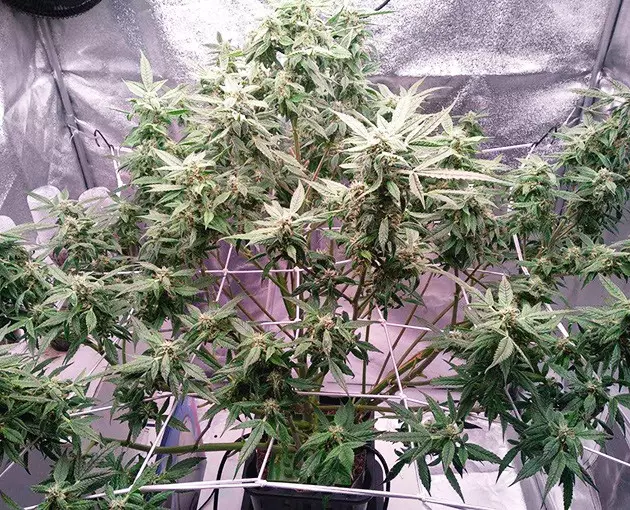
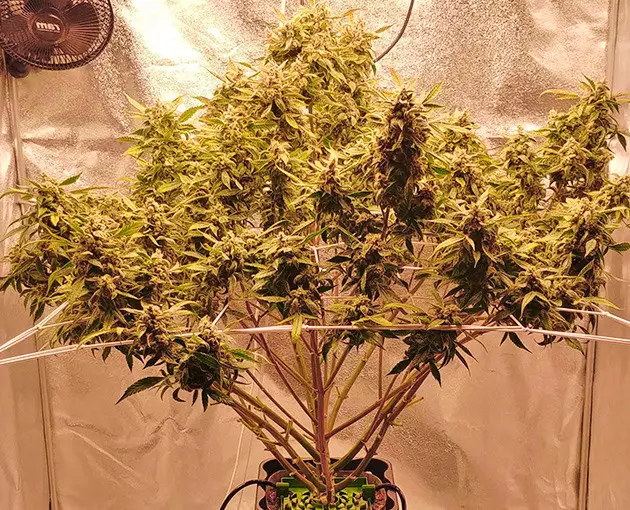

This time, my Auto Orange Bud took much more time to heal her wounds, and it was in the third week since the start of flowering that she was finally lush and leafy again. By this time, she had formed quite noticeable bud sites both on the tops and at lower nodes. That was when I stripped her naked again just as ruthlessly as before. The canopy wasn’t flat anymore, as the central shoot by far overtook the rest. I guess I should’ve directed the main shoot to a corner of the net to achieve a flatter canopy.
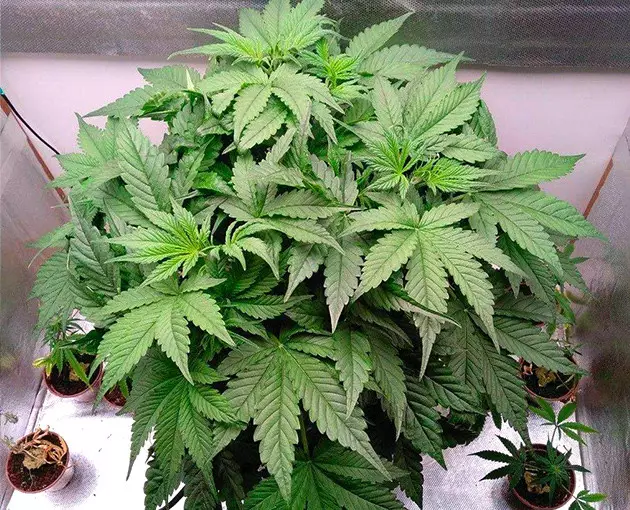
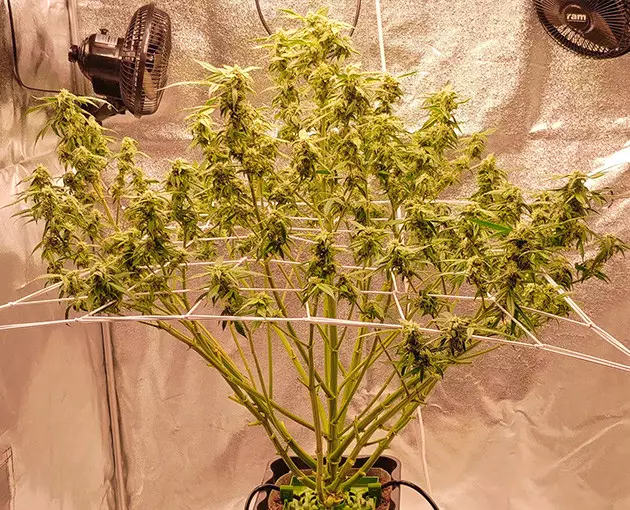
This lady was amazing. Every time I removed every major leaf from her, she grew back practically as many, as if she was programmed to have a certain number of leaves and not one less. However, this wasn’t in my plans, as I wanted every bud site to be exposed fully to light, so I did a fourth and then a fifth and final round of defoliation on days 63 and 70 respectively. The last time around, recovery took longer, and my Auto Orange Bud even stopped absorbing nutrients for a while judging by the runoff – it had the same TDS values as the nutrient solution I gave her.
A Very Nutritious Diet Right to the End
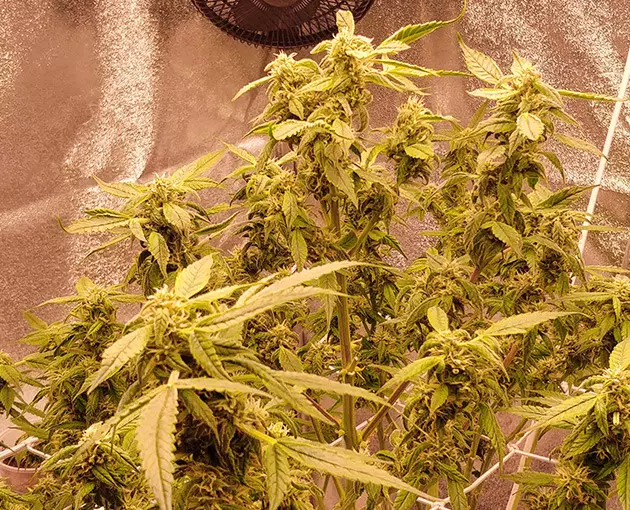
In terms of nutrients, I also pushed my Auto Orange Bud to the limit. When she started flowering in earnest, I ramped up the TDS readings all the way to 1000-1180 ppm (2.0-2.4 EC). This would’ve been hardcore even for photoperiod marijuana, let alone an autoflower.
I added a Cal-Mag supplement to the staple Cocos A+B formula 4 weeks into flowering and extended this simple diet by Ripen in the last couple of weeks before the final flush. Ripen offers large doses of phosphorus and potassium (P and K) – exactly what ensures big and dense flowers.
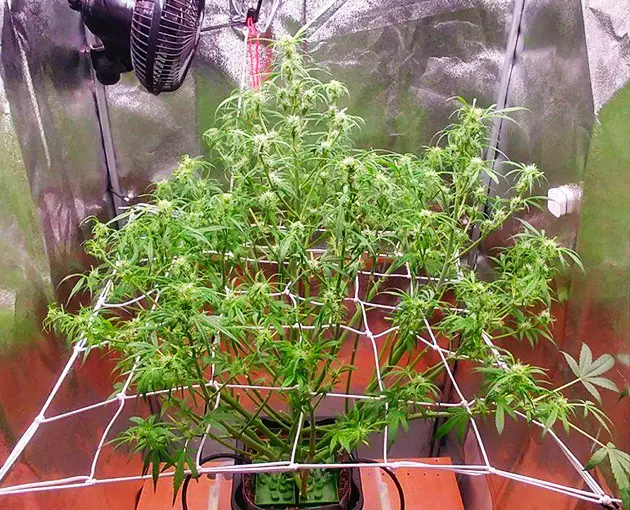
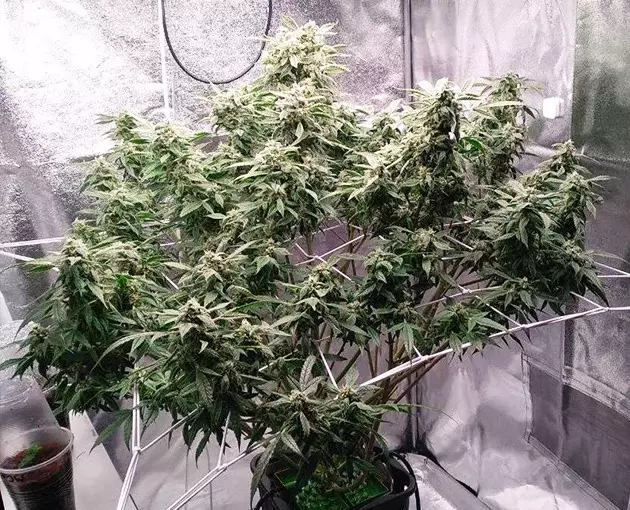
My Orange Bud got as much light as plant food, as she was growing more and more into the light and the top was only 4-6 inches from it by the end.
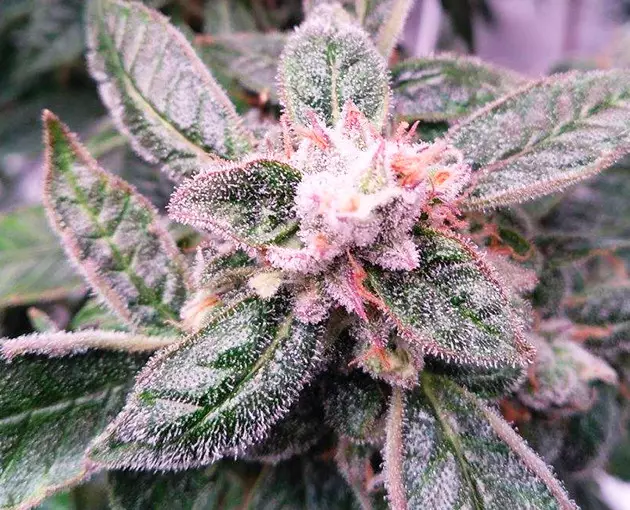
Some Light Stress and Foxtailing
Though the temperature was in the ideal range at 24-25°C (75-77°C) throughout the grow, the uppermost buds began to foxtail a bit at the end. The reason was probably too little distance from the light and too long light hours. The little leaves on the tops got a characteristically roundish shape and their edges started to cup, indicating stress. However, it was too late in the game to affect anything, and my Auto Orange Bud finished strong on day 93 from seed.
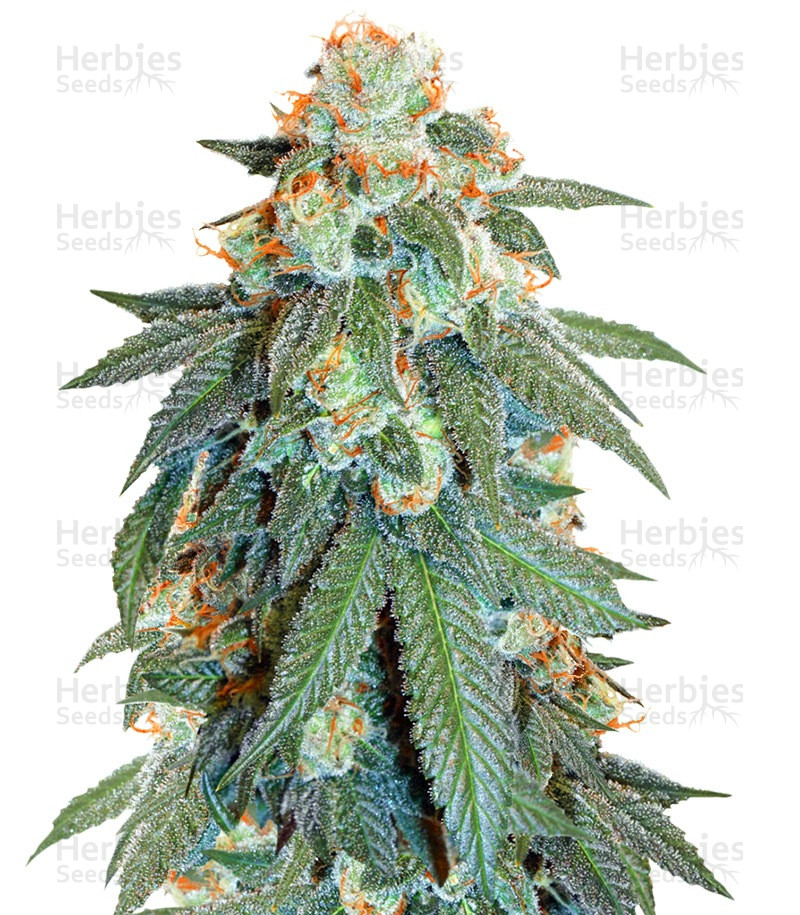
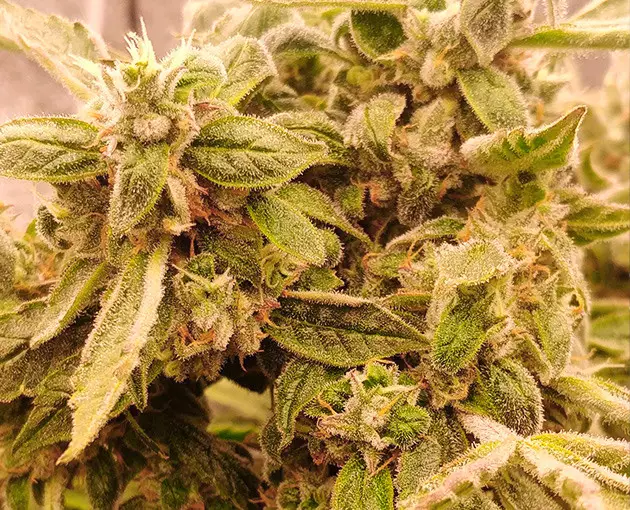
Auto Orange Bud THC Levels, Terpene Profile, and Effects
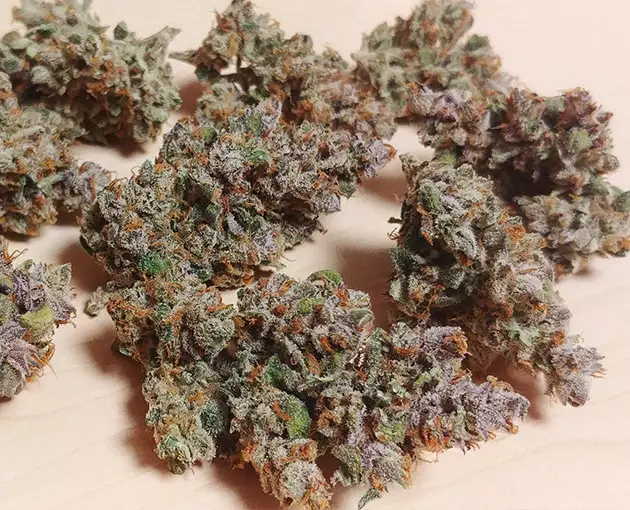
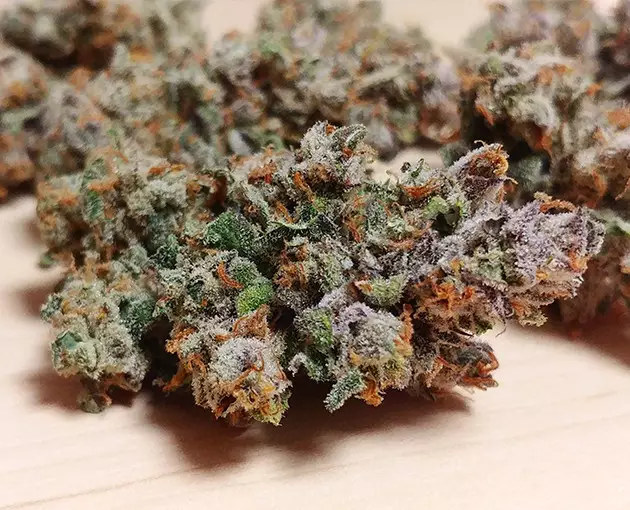
Well, that wraps up my Orange Bud Auto journal, but I also want to add a few words about the smoke. I flushed the plant for only three days (with FloraKleen and then distilled water), but this was enough to cleanse the buds of any built-up salts. The smell and taste were insane – pungent but sweet, with citrus notes – and the type of high felt like about 80% Sativa, making me totally happy, full of euphoria, and very relaxed. Auto Orange Bud has amazing genetics and everything else that an autoflowering fem strain should feature.
That’s it. I hope you enjoyed my Auto Orange Bud grow report and strain review and found it useful. Happy growing!

Herbies Head Shop expressly refuses to support the use, production, or supply of illegal substances. For more details read our Legal Disclaimer.
- Shared on Twitter
![icon]()
- Shared on Facebook
![icon]()


Thank you for leaving a comment for us!
Your feedback will be posted shortly after our moderator checks it.
Please note that we don’t publish reviews that: