


Glookies Strain Grow Diary
Sup, fam! Today, I have a grow diary for a newer strain (at least to me): Glookies from Barney’s Farm. Before we start, I need to come clean: I’d never heard of this strain before. A friend of mine first mentioned Glookies to me only recently. In fact, they swore by it. I was skeptical at first, but they were determined to convince me. They gave me a feminized Glookies weed seed and challenged me to grow it.

If, like me, you hadn’t heard of this GG#4 Original Glue x Thin Mint GSC cross before, prepare to be amazed. It’s a 70/30 Indica-dominant cross with a complex aroma that combines nutty, earthy, and woody tones. It has a hard-hitting, chilled-out high but doesn’t threaten to couch-lock casual smokers. The Glookies weed strain is a hardy, robust variety that can resist poor conditions and pests, making it a good choice for growers of all skill levels.
Equipment I Used For My Glookies Grow
My usual garden space is pretty big. It’s a 50ft2 (3.7m2) basement with a fireplace, which I use to exhaust all the air from inside my grow. That way, my neighbors can’t smell my plants, which can get quite aromatic in the late flowering phase.
Lights
I have a patchwork array of grow lamps. In the vegetative phase, I use a 300-watt light and a second 150-watt light for a total of 450 watts. In the flowering phase, I switch to a single 200-watt light. These lamps all emit light on different spectrums: blue for veg and red for flower. Weed plants want different types of light throughout their lifecycle, and you want to keep them happy so they’ll produce maximum yields!
Growing Medium
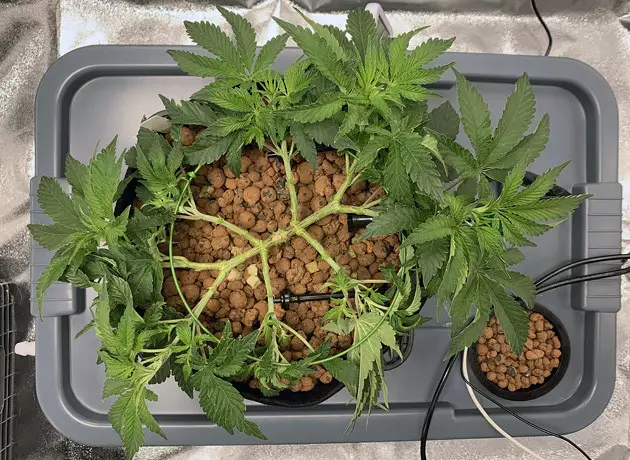
I’ve always grown hydroponically. I start by germinating cannabis seeds in rockwool cubes before transplanting them into pots with clay pellets. This kind of hydroponic growing offers the best of both worlds: your roots can reach out and grow into their medium, while you can still dial in your nutrients in a way that would be impossible in soil gardens.
Nutrients I Used For My Glookies Strain Grow
My nutrient mix is a hodgepodge of different ingredients. It’s based on FloraGro, FloraBloom, FloraMicro, CALiMAGic, and Rapid Start, all by General Hydroponics (GH). Then, I add Dyna-Gro Pro-TeKt for bonus silica, Botanicare’s Hydroguard to promote healthy roots, and Real Growers Recharge. I’ll go into specific nutrient ratios further into this grow diary.
Now, To The Glookies Grow Report Itself
Finally! Now that I’ve covered my grow space, it’s time for the main event. My Glookies seed germinated in just a few days. I knew the seed was feminized, meaning I didn’t need to worry about sprouting a male plant.
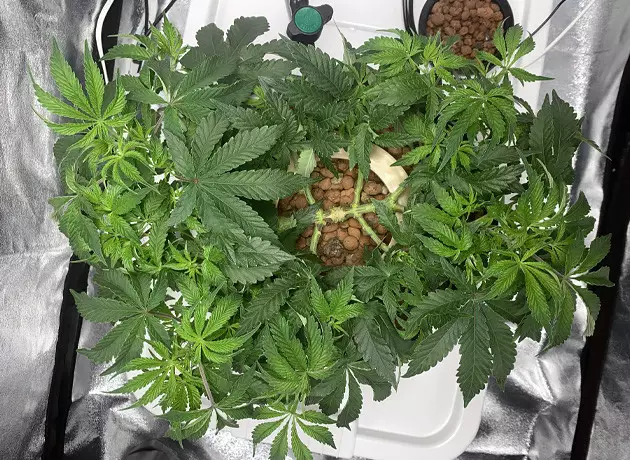
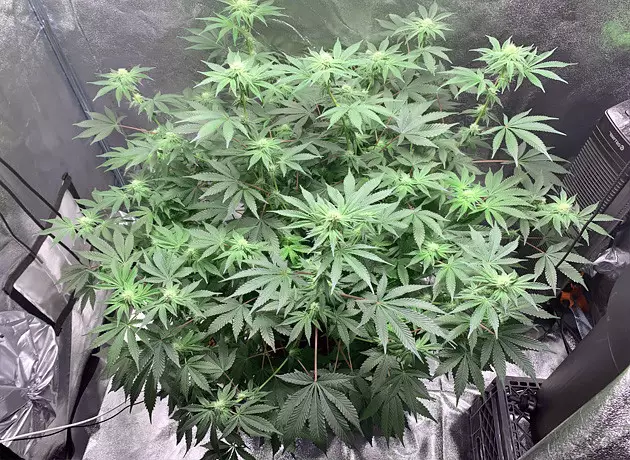
Weeks 1-9: Vegetative Phase
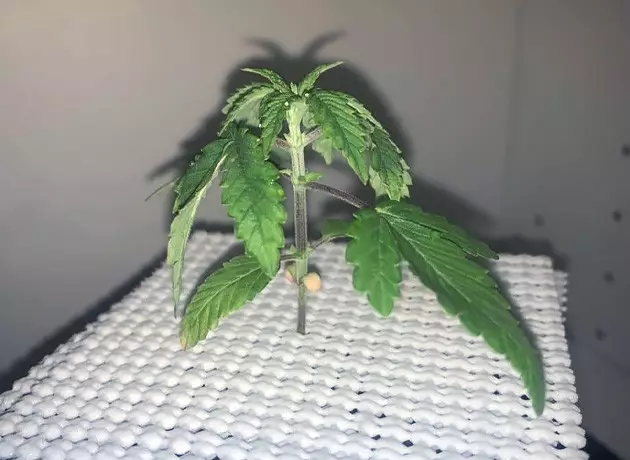
A garden’s environment needs to be flexible during the vegetative phase. For example, while my plant needed 90% humidity in week 1, I reduced this to about 55% by the end of week 9. The temperature in my garden stayed a little more constant, ranging from 78o F (26o C) in week 1 to 75o F (24o C) by the end of the vegetative phase.
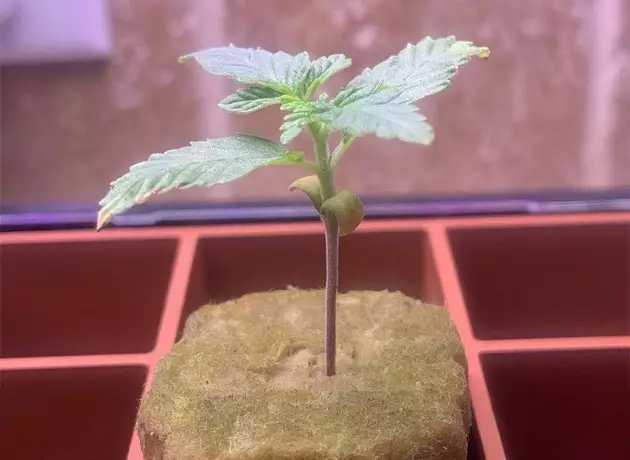
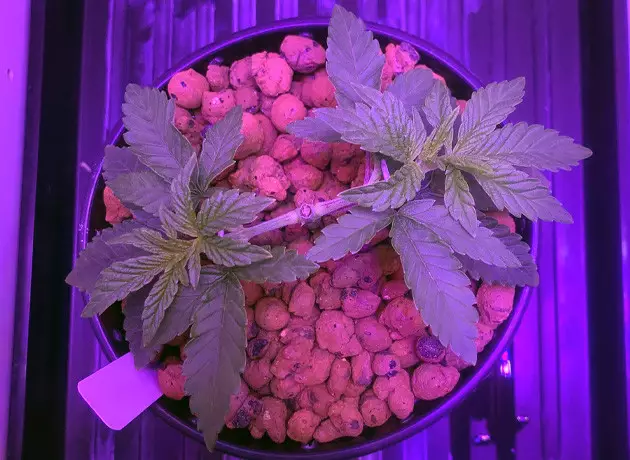
My Glookies plant looked pretty healthy right when it sprouted. I left it in its rockwool starter cube for 2 weeks before transplanting it into a larger rockwool cube in week 3, and finally a 2-gallon (19-liter) pot filled with clay pellets, where it stayed until harvest day.
I used the same basic nutrient mix throughout the vegetative phase:
- CALiMAGic: 1ml/gal (0.26ml/l)
- FloraMicro: 2ml/gal (0.53ml/l)
- FloraGro: 3ml/gal (0.79ml/l)
- FloraBloom: 1ml/gal (0.26ml/l)
- RapidStart: 1ml/gal (0.26ml/l)
- Pro-TeKt Silicon Solution: 1ml/gal (0.26ml/l)
- Hydroguard: 2ml/gal (0.53ml/l)
As the weeks progressed though, I made a few changes. From week 2 onward, I added 1 tsp/gal (1.3ml/l) of Recharge. During week 3, I bumped up the CALiMAGic to 2ml/gal (0.53ml/l), where it stayed for the rest of the vegetative phase. Those were my only tweaks to the vegetative phase nutrient mix.
In the first 4 weeks of the vegetative cycle, I fed my mix at 5.8 pH. In week 5, I bumped the pH up to 6.0 to make sure my plant could absorb its nutrients more effectively. The TDS of my mix ranged from 500 to 900 PPM.
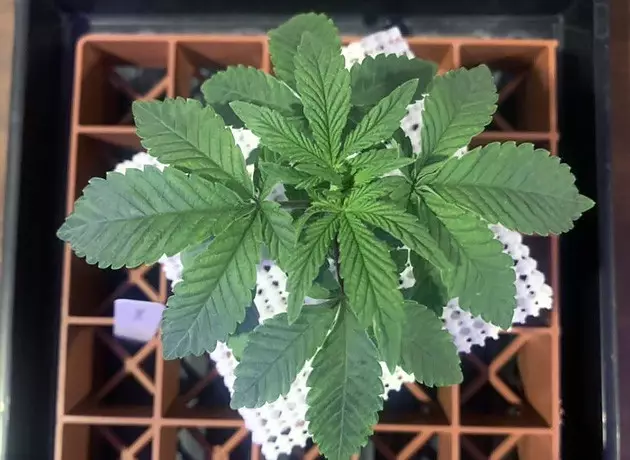
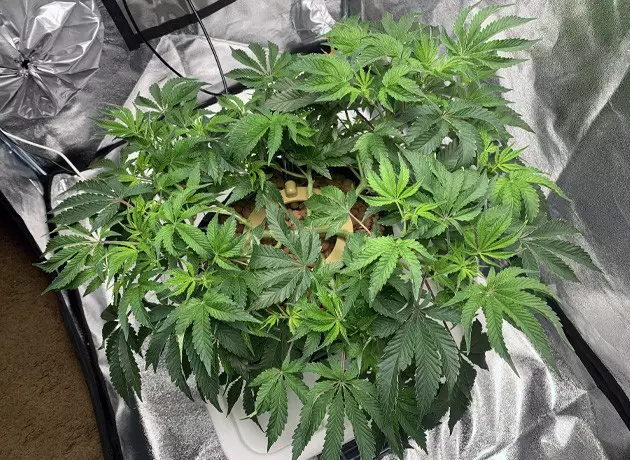
By the time my plant was about 10 inches (25.5cm) tall, I knew that the time was right. I reduced my light from 18 hours per day to 12, and my plant transitioned into the flowering phase.
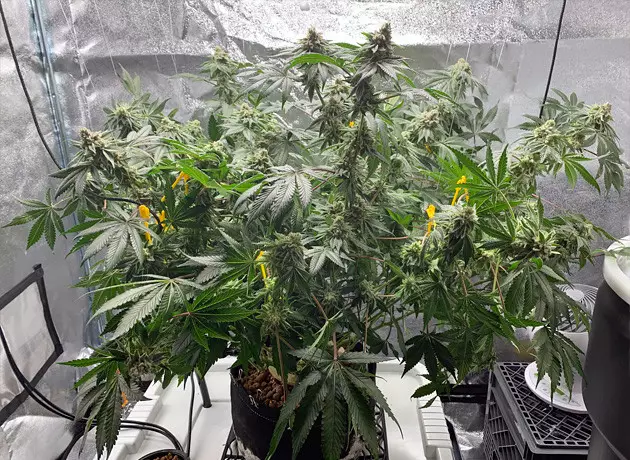
Weeks 10-18: Flowering Phase
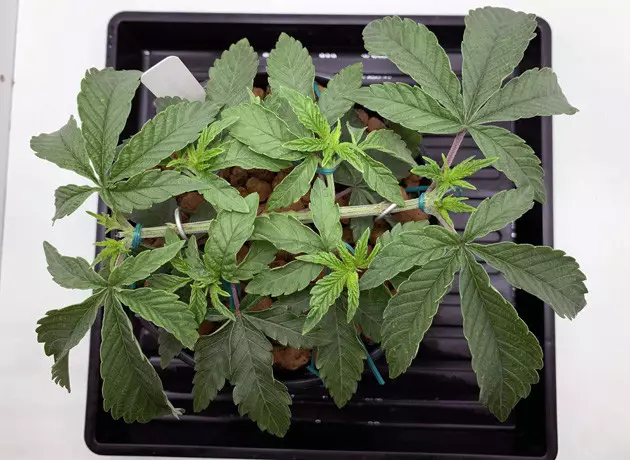
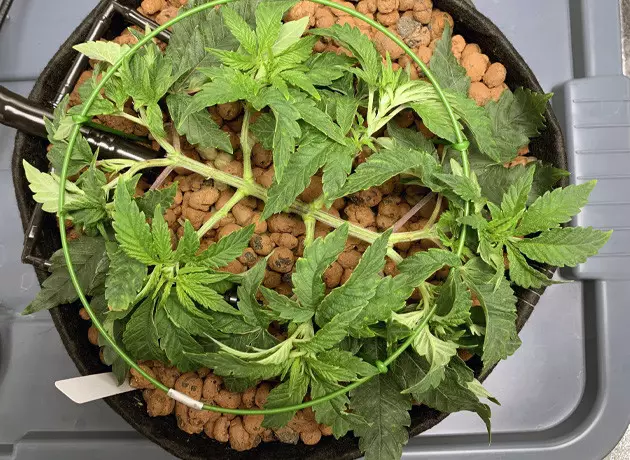
I started week 10 with some plant management to reign in my plant’s rampant growth during the vegetative cycle. I mainlined the plants, creating eight main stems that would all become colas later down the road. I also removed all growth from the bottom half of my plant to help it focus its energy on the mainline colas.
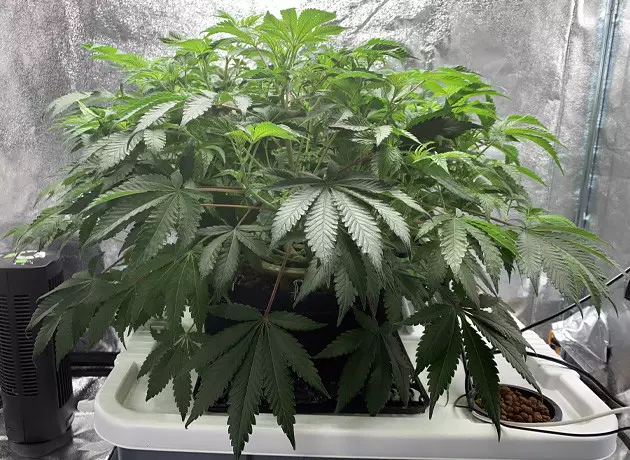
As far as environmental conditions, I continued to taper off humidity throughout the flowering phase. I reached 50% by week 13, and by harvest day, I’d further reduced this to 40%. The temperature stayed at a steady 75o F (24o C).
My week 10 mix was the same as the mix I used in week 9 at the end of the vegetative phase:
- CALiMAGic: 2ml/gal (0.53ml/l)
- FloraMicro: 2ml/gal (0.53ml/l)
- FloraGro: 3ml/gal (0.79ml/l)
- FloraBloom: 1ml/gal (0.26ml/l)
- RapidStart: 1ml/gal (0.26ml/l)
- Pro-TeKt Silicon Solution: 1ml/gal (0.26ml/l)
- Hydroguard: 2ml/gal (0.53ml/l)
- Recharge: 1 tsp/gal (1.3ml/l)
From week 11 onward, I reduced the amount of FloraGro to 1ml/gal (0.26ml/l) while increasing the concentration of FloraBloom to 3ml/gal (0.79ml/l). Then in week 12, I also added 1 tsp/gal (1.3ml/l) of Flower Fuel before cutting back to .12 tsp/gal (0.59ml/gal).


I kept that same nutrient mix until week 15. Then, I mixed things up a bit again and ended up with this:
- CALiMAGic: 1ml/gal (0.26ml/l)
- FloraMicro: 2ml/gal (0.53ml/l)
- FloraGro: 0.5ml/gal (0.13ml/l)
- FloraBloom: 3ml/gal (0.79ml/l)
- Pro-TeKt Silicon Solution: 1ml/gal (0.26ml/l)
- Hydroguard: 2ml/gal (0.53ml/l)
Finally, from week 16 onwards, I fed the plant my final nutrient mix:
- FloraMicro: 2ml/gal (0.53ml/l)
- FloraGro: 0.5ml/gal (0.13ml/l)
- Hydroguard: 7.57ml/gal (2ml/l)
Throughout the flowering phase, I kept my nutrient mix pH’d to 6.0. The TDS of my mixes ranged a lot, from 500 to 1000 PPM.
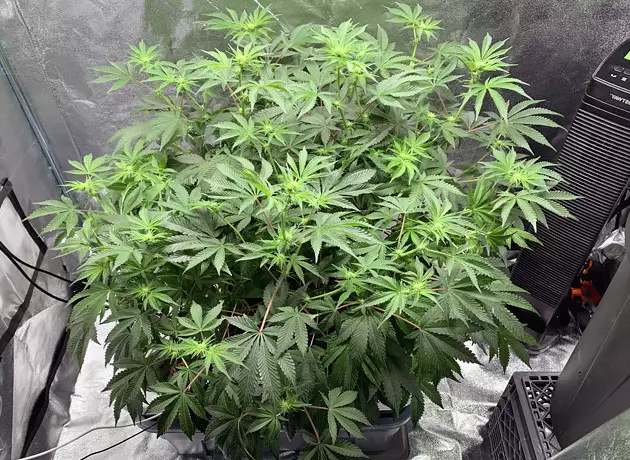
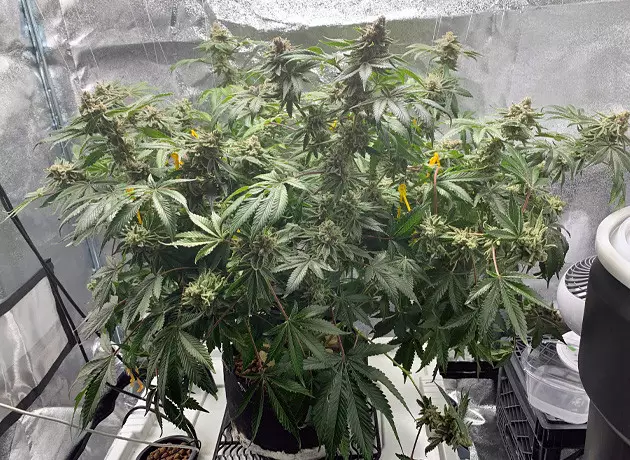
Glookies Strain Review And Harvest Report
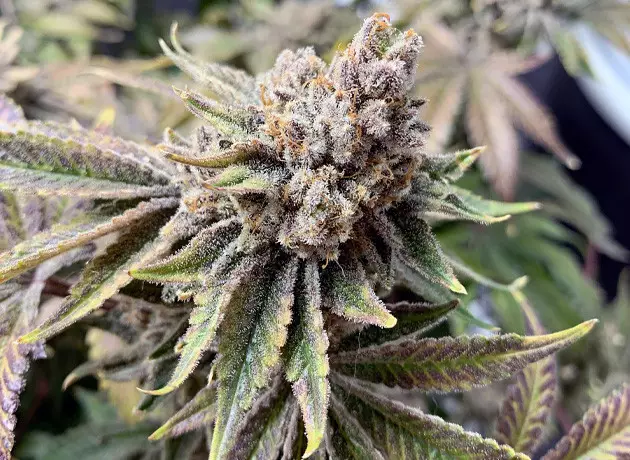
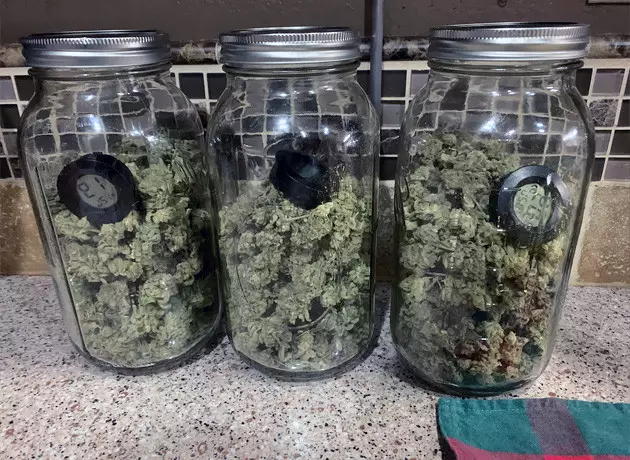
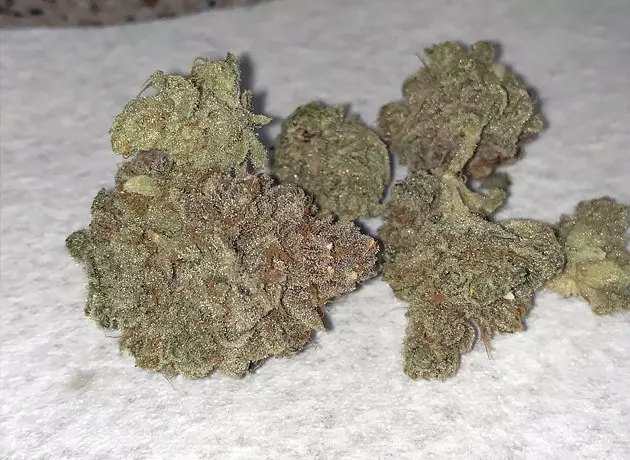
I was extremely pleased with my Glookies plant on harvest day. The first thing I noticed: it’s a pretty plant. It boasted big, sticky, dense nugs that simply oozed trichomes. Its coloring was rich with green hues, accentuated by glistening purple highlights. While I was harvesting my plant, I couldn’t wait to smoke it.
I was pretty happy with my yield as well. I ended up with 7.94oz (225g) of dry weight, which came out to 1.13 g per watt. Whenever I can get a gram per watt of light on LED lamps, I consider it a good harvest.
After my own experience growing Glookies, I’m happy to say that I will definitely try it again. With its combination of good yield, great high, and resistant genetics, I foresee this strain becoming a household name within the next few years.

Herbies Head Shop expressly refuses to support the use, production, or supply of illegal substances. For more details read our Legal Disclaimer.
- Shared on Twitter
![icon]()
- Shared on Facebook
![icon]()


Thank you for leaving a comment for us!
Your feedback will be posted shortly after our moderator checks it.
Please note that we don’t publish reviews that: