Durban Poison Outdoor Grow Journal: Raising a Mold-Resistant, 1000-Gram Monster
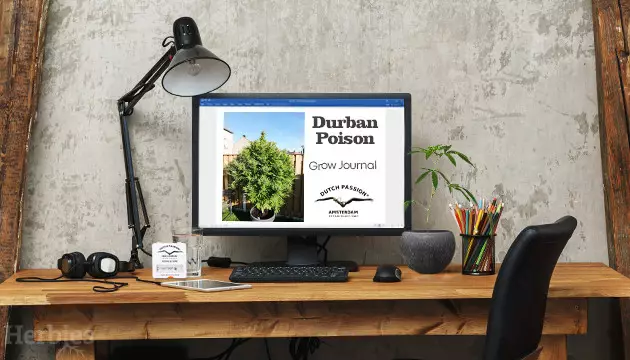
Greetings, fellow growers! If you want to know how the Durban Poison strain by Dutch Passion grows week by week, you’ve come to the right place. It was a very simple grow on my part, nothing fancy really, so if you’re planning your own Durban Poison outdoor grow, you may expect more or less the same.
This single weed plant brought me a whopping 1 kg (2.2 pounds) of dry buds that were almost rainbow-colored (with lots of purple hues), dense, and perfectly easy to trim. Who would want more from an outdoor grow that lasted around just 3.5 months?
Disclaimer: Cannabis cultivation laws vary by region. This information is intended for use in areas where growing cannabis is legal. Please check your local laws before proceeding. Prior use consult your medical adviser.
Durban Poison Outdoor Grow: The Seedling Stage
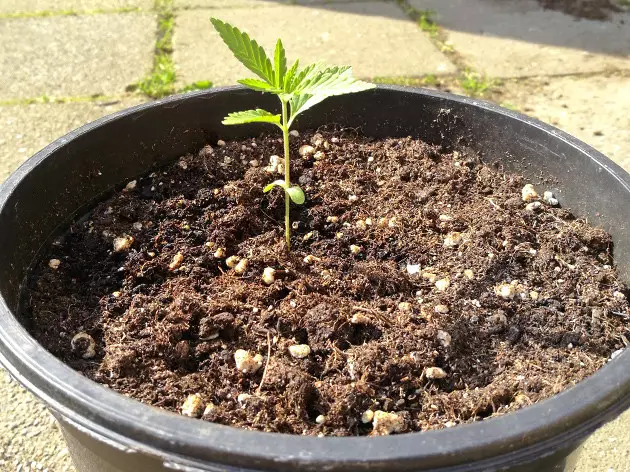
I started the seedling in a 250 ml plastic pot in early summer, when it was mostly sunny and the day temperatures were around 68-77°F (20-25°C). I know that many growers pick an earlier date – something like May or even April – but I didn’t need my Durban Poison to get too big, as I planned to have her in a container and not in a raised bed.
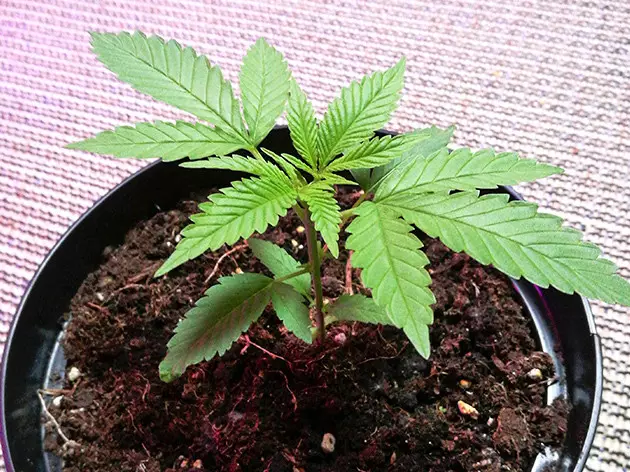
As a medium, I used Lightmix from Plagron, which has some perlite and coco as soil conditioners. I simply watered the pot when it dried up and only added Power Roots as an organic root booster. In week 3, when my Durban Poison had used up most of the nutrients in the potting soil and began to overgrow her pot, I gave her a couple of nitrogen-rich feedings with Plagron Terra Grow.
At this stage of slow initial growth, I was still supplementing the light with a 180W LED in the last hours of the day, and in week 4 from seed, I transplanted Durban Poison into her final 130-liter home.
Durban Poison Outdoor Grow: The Vegetative Stage
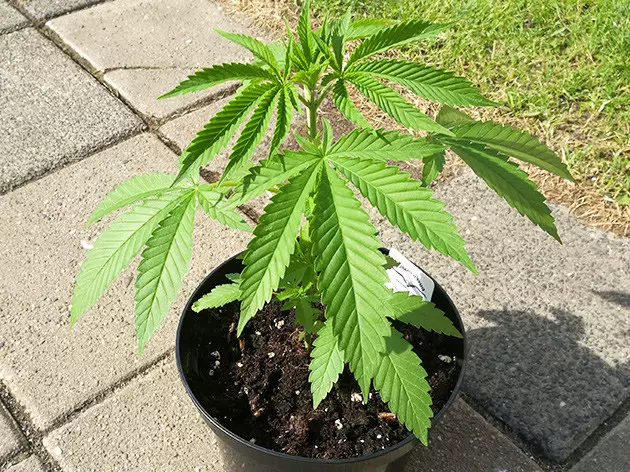
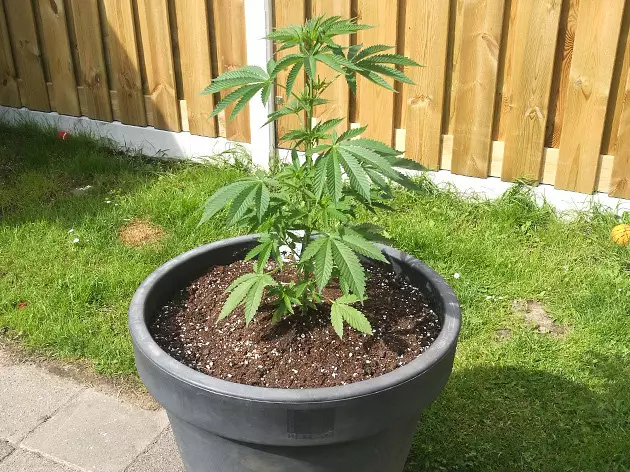
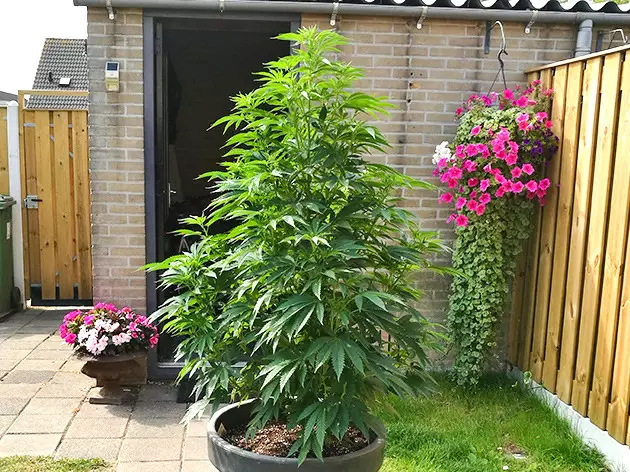
By the day of potting up, the young plant had grown to 14 inches (36 cm) and didn’t look small even in her new large container. Though not bushy, she was tall and had about 7-8 well-developed nodes. From the get-go, I decided not to top her central stem and let her grow vertically, only topping the side branches when needed.
The roots obviously liked getting so much new space as well as the root stimulant and Plagron Terra Grow, as the above-ground part began to stretch and bush out rapidly. Besides daily fertigation, my only chore was to look at the undersides of the leaves and destroy the yellow eggs of some pest – probably caterpillars. Unfortunately, pests are something that Durban Poison outdoor growers will have to deal with.
A Tall and Gorgeous Lady
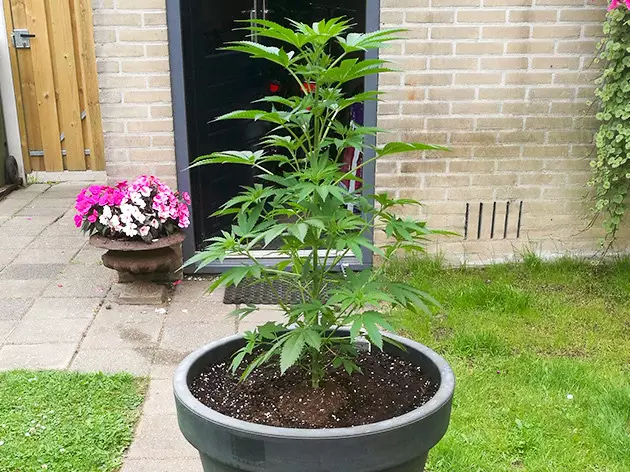
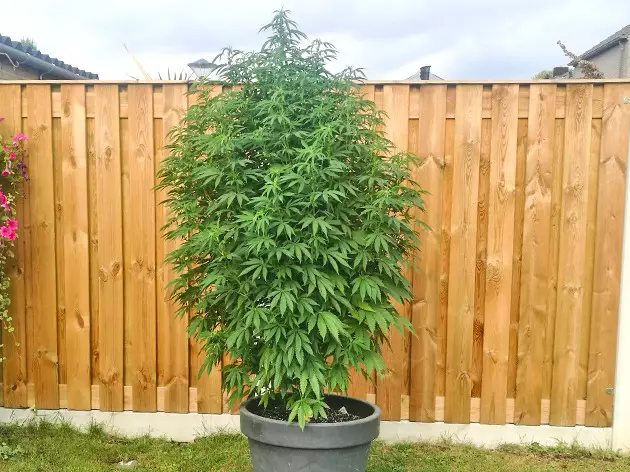
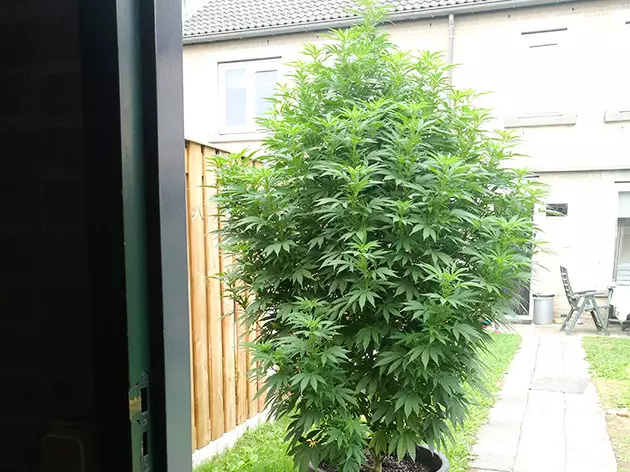
By the end of the second month, I had to top every uppermost side branch to get a bushier plant and smaller colas at harvest. Smaller was better in my case because there are too many rains at the end of summer, so I worry about mold issues every season.
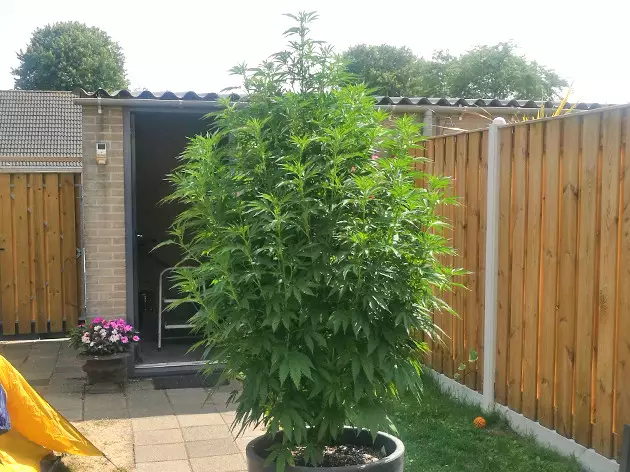
We had a long spell of great weather in July, with a lot of sunshine and warm temps, and my Durban Poison was pushing 6 feet while her roots started to emerge from the drainage holes. However, it was the lateral growth that was the most impressive – the plant now measured about 4 feet (120 cm) across.
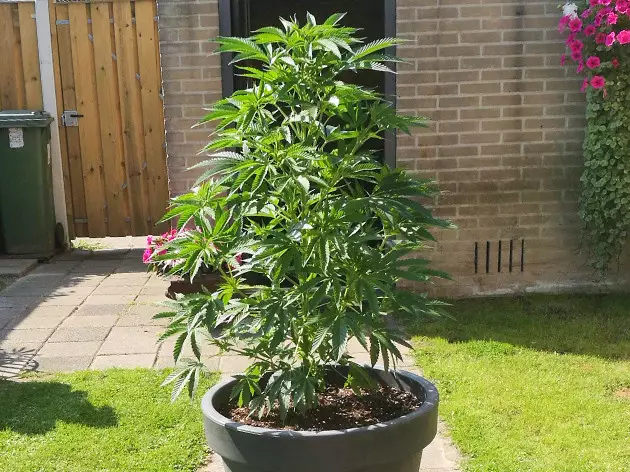
The weather was very hot (not like in previous summers), and my African lady drank about 10 liters (2.6 gal) a day. She had reached over 7 feet (215 cm) in height and still wasn’t flowering when some thieving bastards broke into my backyard and stole several plants. They only cut a few branches of Durban Poison though (I don’t know what for), probably because the pot was too heavy to even lift, let alone steal.
Durban Poison Flowering Week by Week
If you’re wondering about Durban Poison’s outdoor flowering time, mine already had very noticeable flowers on the tops when the days were about 17 hours long. This happens at different times at different latitudes (you’ll have to look it up), and the plants take 8 weeks from that moment to get fully mature buds.
As soon as I saw the first pistils, I changed the nutrients to Plagron Terra Bloom, which has higher levels of phosphorus and potassium than nitrogen. Even though it wasn’t as hot by then, Durban Poison remained a thirsty plant and drank more and more each week – eventually, up to 12 liters (3.2 gal) a day.
I was amazed at how quickly the buds formed – in week 2 already. At that time, they weren’t so fluffy anymore but had some substance to them. The pistils even looked a bit purplish because of the colder nights. Fortunately, the flowering stretch outdoors is nothing like indoors, and my Durban Poison stretched another 8-10 inches (20-25 cm) and then stopped.
Frosting Up
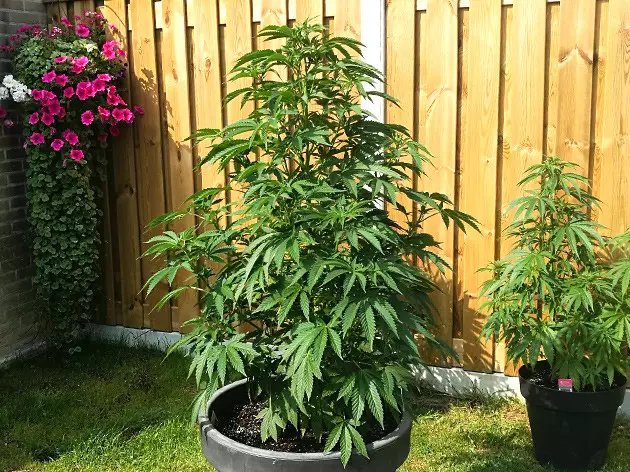
In week 5, I could see a lot of THC ‘frost’ on each calyx and many of the little leaves growing between them. My Durban Poison also began to smell – mostly of citrus fruit with interesting chemical notes. Her mold resistance was already showing – with so much rain and cool nights, other strains would have been moldy for sure. Been there.
In week 6, the night temps were in the low 40s (around 6°C), but that didn’t cause any trouble and just turned the buds into deep purple and solid, heavy nugs. They looked mature enough for me to think about flushing the medium for two more weeks and then harvesting my beautiful Durban Poison.
A flush wouldn’t be necessary in a raised bed, but when you grow in pots, I don’t think it’s much different from indoors – you need to clear the root zone and the buds of any trace amounts of fertilizers. So, I was giving Durban Poison 13 liters of pure water every day, and she didn’t even look hungry by harvest since there were almost no yellowing leaves. I was lucky with the weather too – the nights were still cold, but the day temps were as high as 73°F (23°C), and it was dry and sunny.
The Harvest: A Trimmer’s Nightmare, a Smoker’s Dream
I cut down my Durban Poison tree after 8 weeks of flowering. Although the colas were long and fat, none of the branches broke, not even in high wind. The bud structure – with compact and dense flowers and sparse fan leaves – allowed for an easy trim, but the sheer number of branches made it a very long job. When everything was cured properly, the dry weight was astounding at 1000 grams (2.2 pounds). Not a bad yield for just one plant with such a short flowering period.
To wrap up my Durban Poison grow diary, I’ll say a few words about the smoke. It felt like a 100% Sativa – perfect to smoke during the day and feel totally carefree and up for anything. As for the flavor, it changed a little – the chemical notes cured out, and the taste was now berry-like, with a strong lime background and the additional freshness of pine forest.
That’s it. I hope you enjoyed my Durban Poison grow journal as much as I enjoyed everything about growing her: the plant height, the bud size, the number of trichomes, the yield, and the cannabinoid profile. If my grow guide inspires you to try this strain outdoors, I’ll be happy, and I wish you all the best of luck!
Herbies Head Shop expressly refuses to support the use, production, or supply of illegal substances. For more details read our Legal Disclaimer.





Thank you for leaving a comment for us!
Your feedback will be posted shortly after our moderator checks it.
Please note that we don’t publish reviews that: