


Orange Sherbet Auto Grow Diary: A Short Week-by-Week Guide

Hello, everybody! Welcome to my Orange Sherbet Auto grow diary, where I’ll be sharing my experience growing this amazing autoflower indoors. I proceeded with three plants but eventually had two and harvested 4.66 oz (132 g) from both after 11 weeks from seed. I also got a lot of sugar leaves and made some excellent bubble hash from them. It was a very nice yield of top-quality stuff.

Orange Sherbet Auto Grow: Germination and Seedling Stage
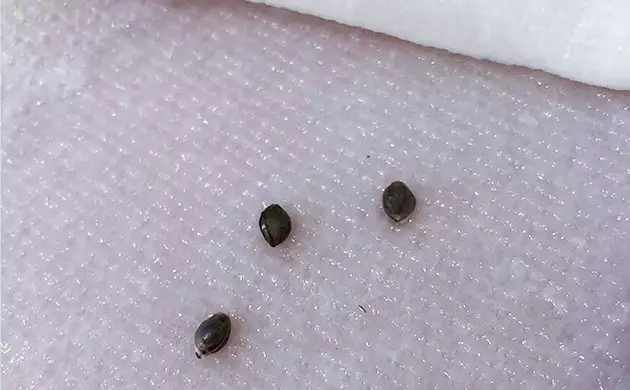
I germinated three Orange Sherbet Auto seeds by Fast Buds using my favorite method, which involves moist paper towels and nothing else. The seeds were super strong – the taproots showed within 24 hours, and later the same day, they were long enough to be planted.
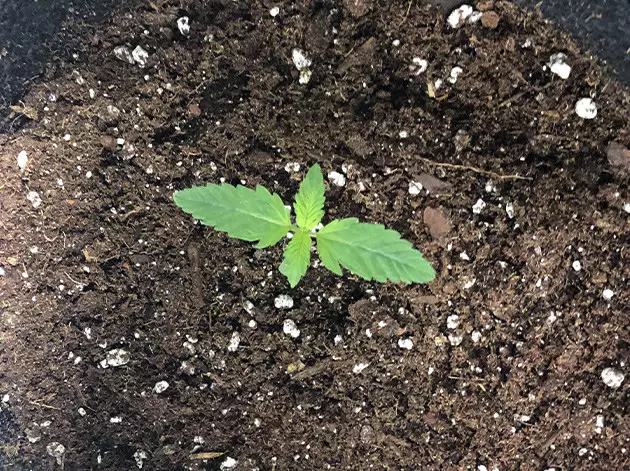
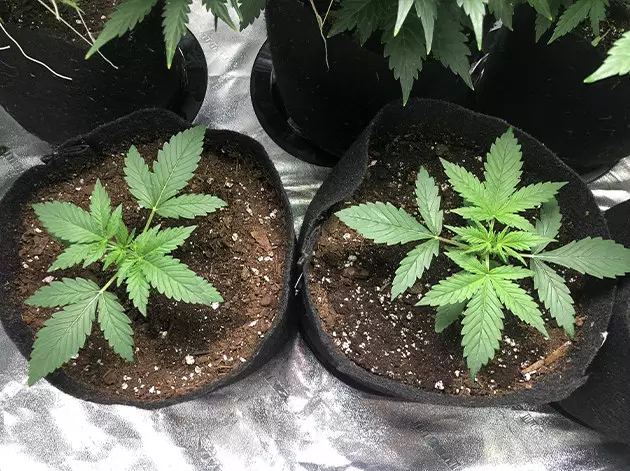
I used jiffy plugs, which I inserted into 3-gallon (11.36-liter) fabric pots filled with Foxfarm potting soil. I made my own 50/50 mix of their two brands – Ocean Forest and Happy Frog. Both are sphagnum-based and have many organic additives, such as earthworm castings and bat guano, but Ocean Forest is pricier because it’s loaded with various sea products (e.g. crab and shrimp meal). I’ve long found that mixing the two works perfectly for me.
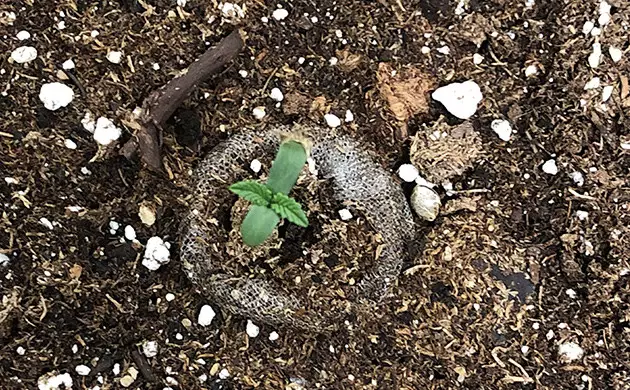
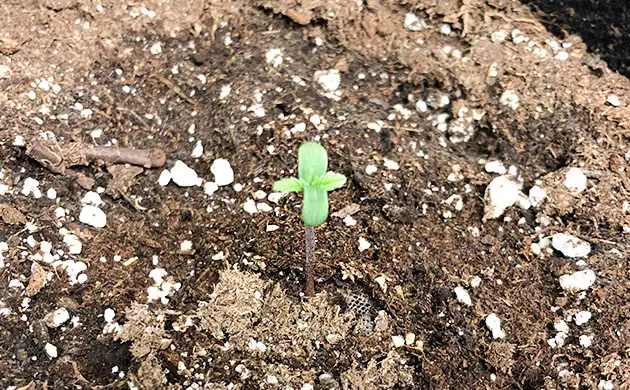
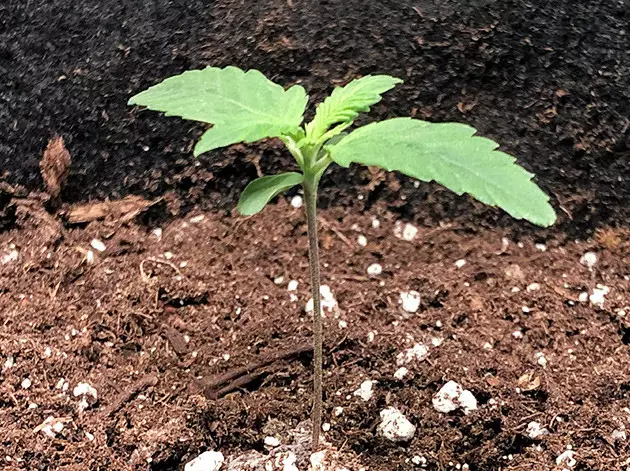
I kept things warm and humid for the first week, with the day temperature at 82°F (28°C) and relative humidity at 65%. I also covered the seedlings with small pieces of wet paper towels when they sprouted to help them shed their ‘helmets’. Thanks to this, they freed themselves from their shells on their own and began to grow rapidly.
Unfortunately, one of my Orange Sherbets displayed some kind of burn (probably nute burn), so I transferred her from the full light into another tent where I veg photoperiod plants. The remaining two were doing great though.
Orange Sherbert Auto: Vegetative Stage
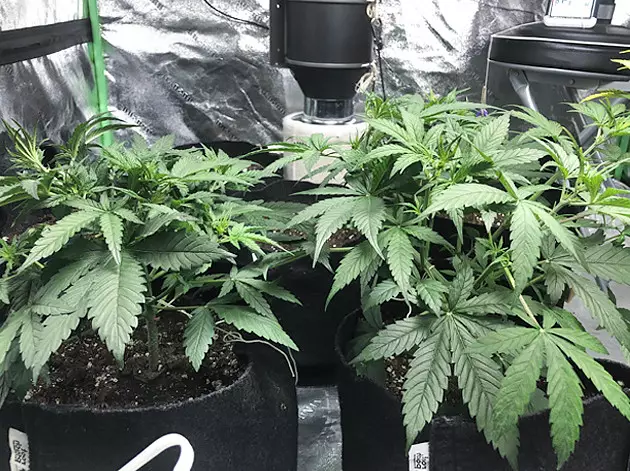
I gave my girls almost nothing but fresh water for the first two weeks because 3 gallons of soil that caters specifically to the needs of cannabis is enough for the vegetative stage of an autoflower. I only added half the recommended dose of a Cal-Mag supplement in week 3 and then was giving the full amount of it ‘til the final flush – you can’t go wrong with calcium and magnesium, especially in coco but in soil grows too.
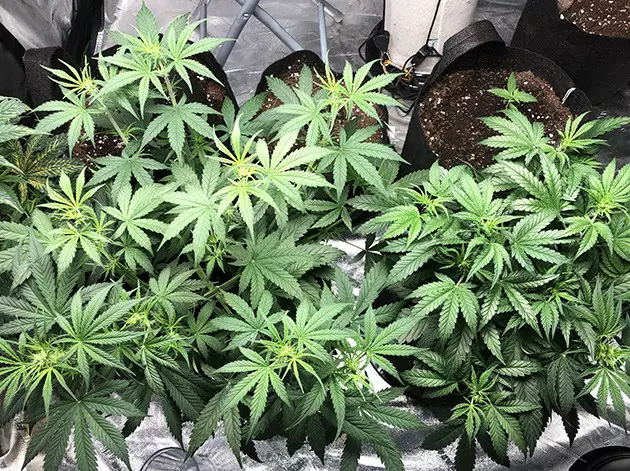
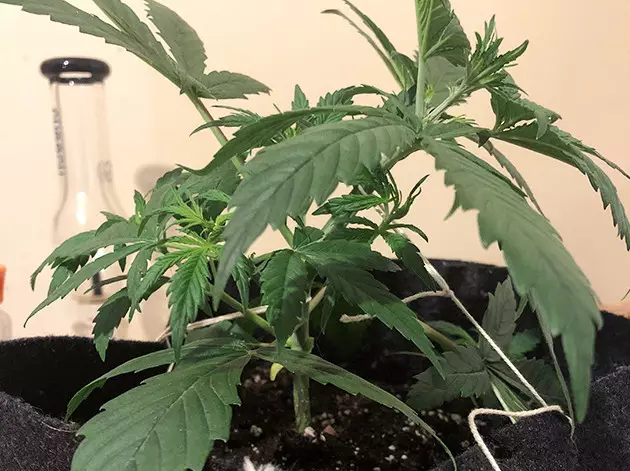
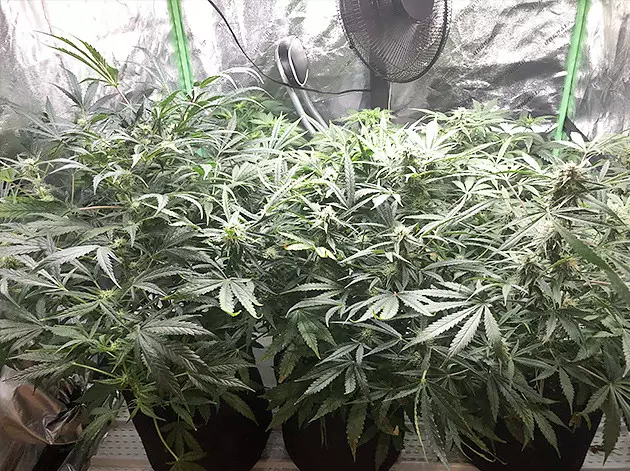
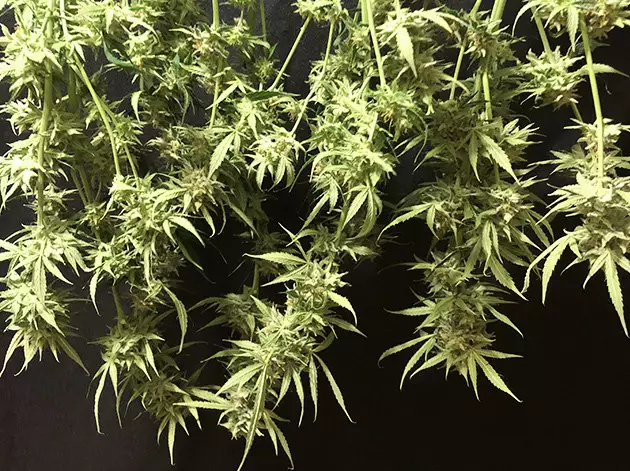
Both Orange Sherbet ladies were growing fine. They showed their propensity for branching early on, and indeed, they would grow into quite bushy plants. I started to train them in the third week – nothing fancy, just tying down the main stem and the biggest side branches (which were big indeed).
The third lady was lagging behind, maybe because she was still recovering from the burn or maybe because of the weaker lights in the veg tent. I decided that I would make her produce male pollen and pollinate some other autoflowers instead.
Orange Sherbet Auto: Flowering Week by Week
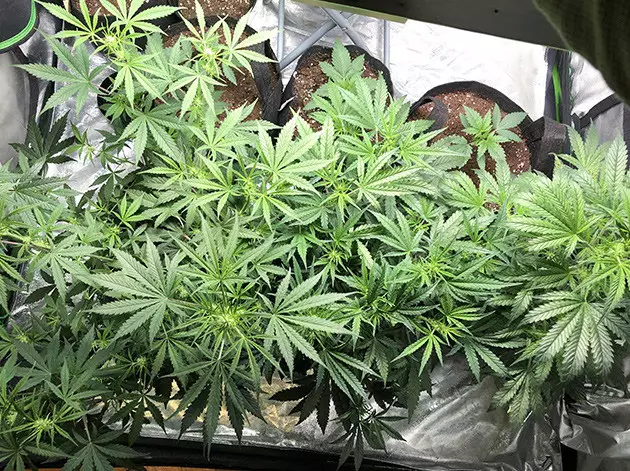
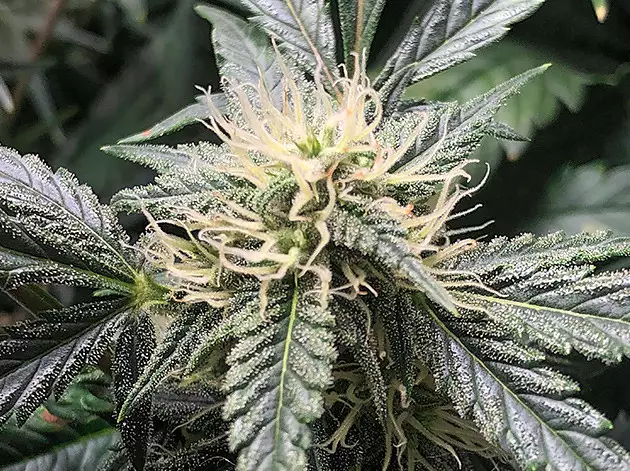
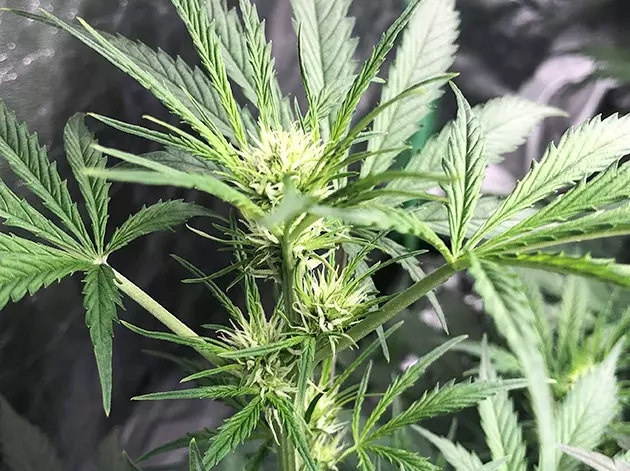
Before the first month from seeds was over, both plants began to flower – they grew pistils not just at the nodes but on the tops as well. I was still performing LST on them and tied them down rather radically.
Week 4 from seeds was the first week of flowering, and I immediately introduced flowering nutrients. I started with Advanced Nutrients Bloom and then added a Growtek supplement called Fish Plus Bloom. I figured that with all that bat guano and other stuff in the soil, my Orange Sherbet Autos hardly needed extra nitrogen (N), so I basically fed them phosphorus (P) and potassium (K) from that moment on. AD Bloom has an NPK of 1-3-4 and Fish Plus Bloom 1-10-10 – the exact thing a flowering cannabis plant needs.
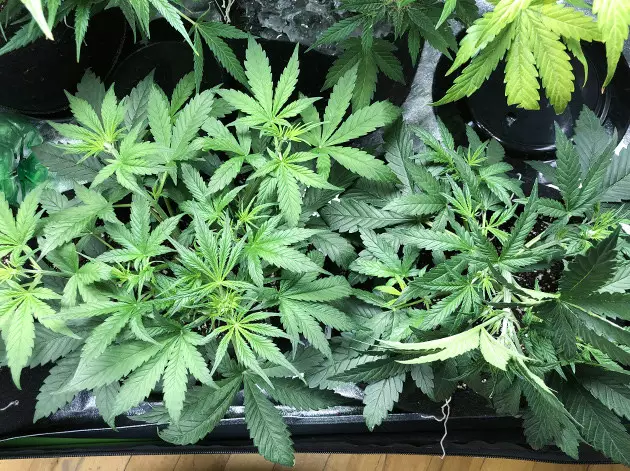
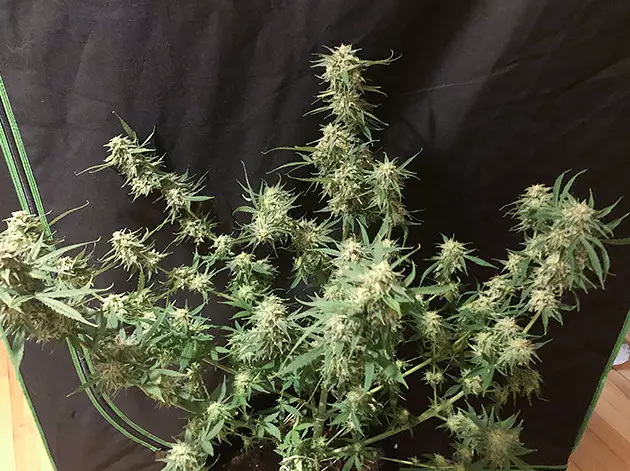
In the first three weeks of flowering, the girls started and stopped stretching, going from 10 to 22 inches (25-55 cm). Of course, I helped them stay compact with LST, while my powerful lights also played their part. I had two Spider Farmer SF-2000 lights (400W all in all) running in my 4x4 tent and liked them so much that I decided to buy a third one for my future grows. I kept the LEDs at 19 inches (48 cm), which was perfect.
My lights were running 19/5, and I lowered the day temp in the later stages of flowering just a bit to 77°F (25°C) since slightly cooler temps result in better flowers. With the lights off, the temps were dropping very insignificantly – by no more than 2 degrees. The relative humidity was 60% ‘til harvest – a little high, I know, but there were no issues with mold or bud rot.
One Fem Deliberately Turned Male
Remember my Orange Sherbert runt? She actually recovered, and I regretted that I’d kept her separate and started to use colloidal silver on her. She could have made a fine addition to the overall yield. Anyway, I sprayed her with colloidal silver for 2-3 weeks, watching how the female pistils gradually disappeared (after a week) and male sacks popped up in their place. As soon as that happened, I removed this one from the rest because otherwise, she would’ve pollinated them, and I wanted to harvest sinsemilla.
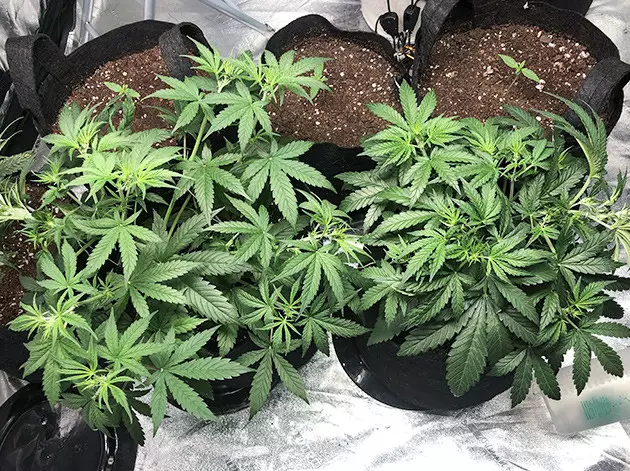
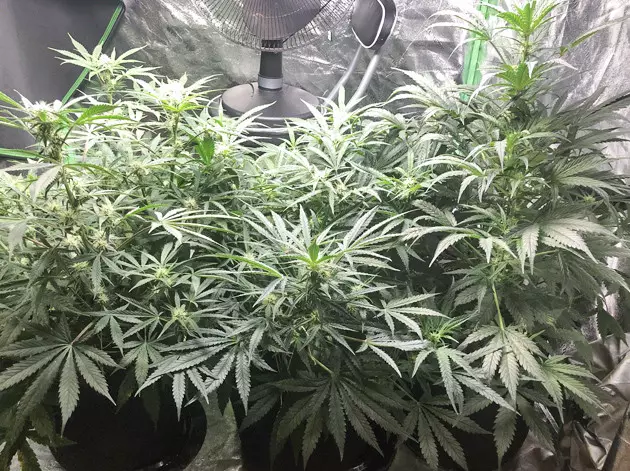
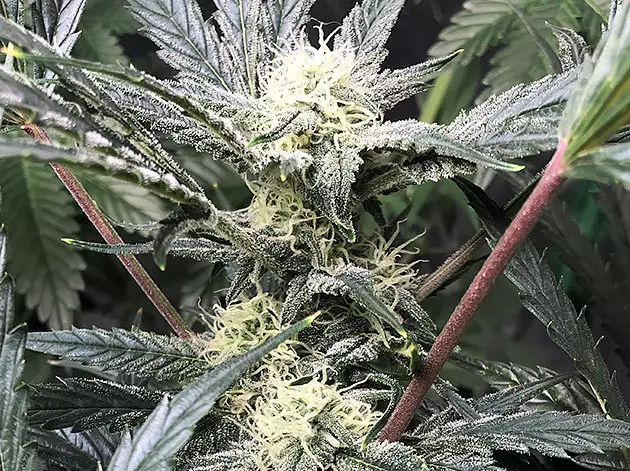
Flowers Stacking Up and Filling Out
About 3-4 weeks into flowering, my girls got really thirsty, and I had to double the amount of water compared with the previous week. They used all that water to form nice big buds, and there were almost no issues except for a few minor deficiencies that I fixed by upping Cal-Mag and even foliar feeding with it in the fourth week of flowering. Later, it becomes dangerous to spray because you always run the risk of getting mold.
Week 5 of flowering was the last when I fed my Orange Sherbets any nutrients. I flushed them in week 6 and then gave them only fresh pH’d water (btw, I kept the pH at 6.7-6.8 throughout the grow). So, the girls were famished for 3 full weeks – enough to use up every morsel of plant food in 3 gallons of soil and also all internal resources. Maybe this is kind of a long flush, as two weeks would usually be more than enough, but the finished product was clean of any built-up salts and super tasty.
Orange Sherbet Auto Review: Harvest and Smoke Report
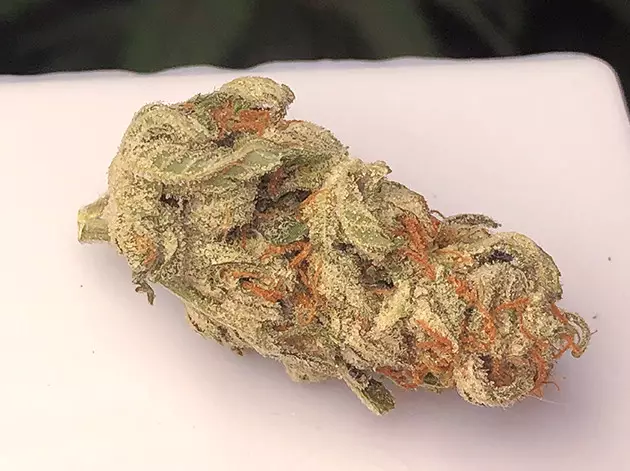
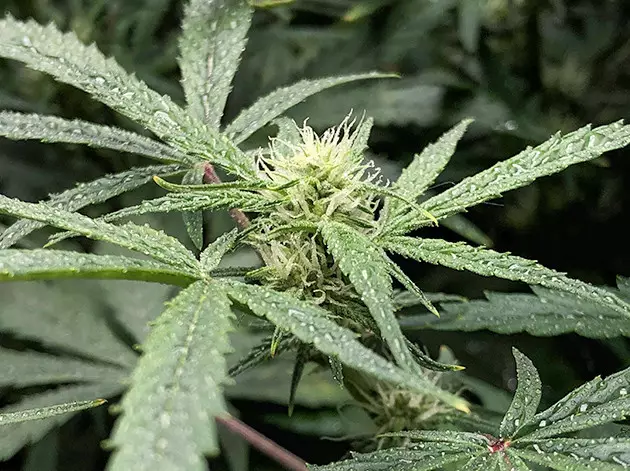
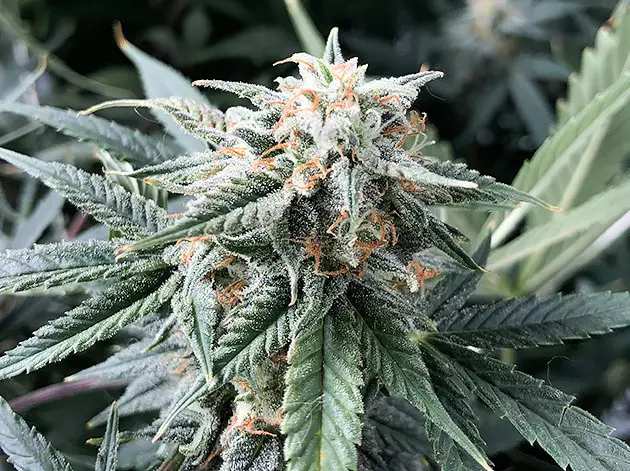
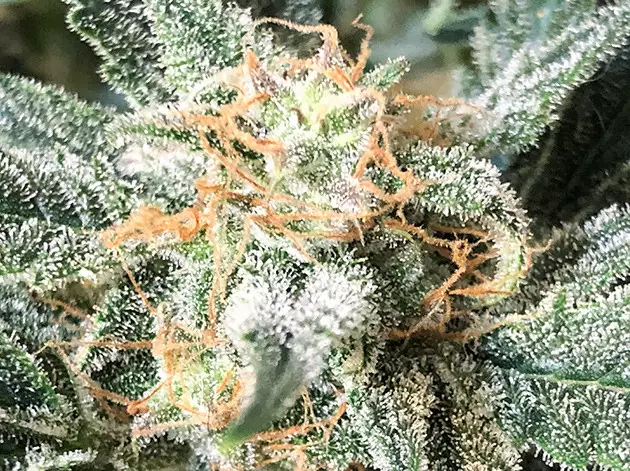
The first crystals started to appear in weeks 4 and 5. In week 6, the odor became really strong, so I finally needed to install a carbon filter. All the pistils were still white when I began flushing. Then they gradually turned brown, meaning that it was time to inspect the trichs under a hand loupe.
When most of the trichomes were cloudy and I saw a few ambers, I drastically cut down on the water, lowering the moisture level in the soil. Then I removed every leaf that didn’t have trichomes on it and turned off the lights for a 48-hour darkness treatment. In my experience, 48 hours of dark before harvest really makes the buds stickier and more potent.
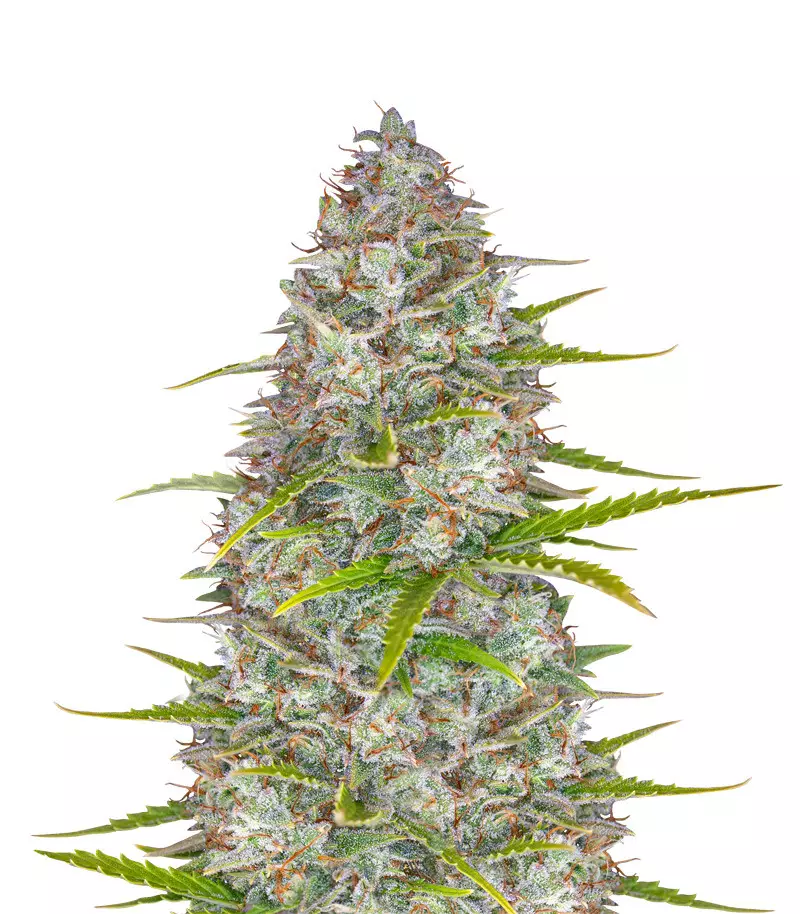
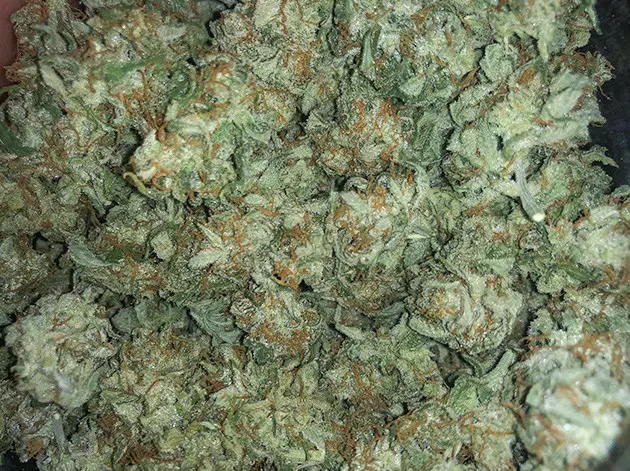
I decided to go for a long drying with my Orange Sherbet autoflowers, so I didn’t trim them wet. I think this makes the drying process slower – up to two weeks instead of just one. The hay smell quickly cured out, and the buds started to smell sweet, creamy, and even resembled tropical fruit. Of course, I smoked some after one week in the jars – the effects were balanced, with a more pronounced uplifting head high but with some nice body vibes as well.

All in all, I was perfectly satisfied with Orange Sherbet Auto by Fastbuds – a great strain and a great smoke. If you have a similar experience to mine, you won’t be disappointed. Happy growing!
Herbies Head Shop expressly refuses to support the use, production, or supply of illegal substances. For more details read our Legal Disclaimer.
- Shared on Twitter
![icon]()
- Shared on Facebook
![icon]()


Thank you for leaving a comment for us!
Your feedback will be posted shortly after our moderator checks it.
Please note that we don’t publish reviews that: